| Back to page 1 | ||
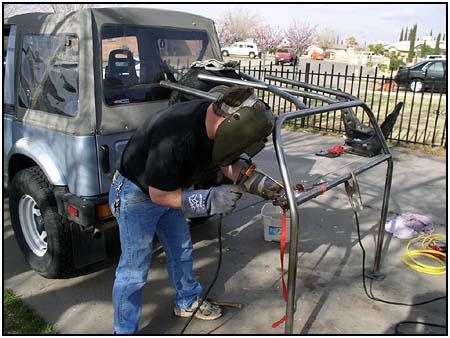
  The
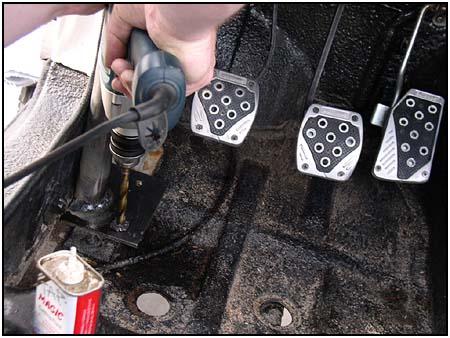
front down tubes mount to a floor plate on either side. At this point there
were no holes to line up yet. When everything was in place, we tack welded
it in together. Notice the towels under the work area. If you are going to
do any welding in your rig and you don't have any fireproof blankets, you
can use water soaked towels to keep the sparks from doing damage. But make
sure you have someone watching them with more water ready in case the towels
start to dry out. The
front down tubes mount to a floor plate on either side. At this point there
were no holes to line up yet. When everything was in place, we tack welded
it in together. Notice the towels under the work area. If you are going to
do any welding in your rig and you don't have any fireproof blankets, you
can use water soaked towels to keep the sparks from doing damage. But make
sure you have someone watching them with more water ready in case the towels
start to dry out. |
||
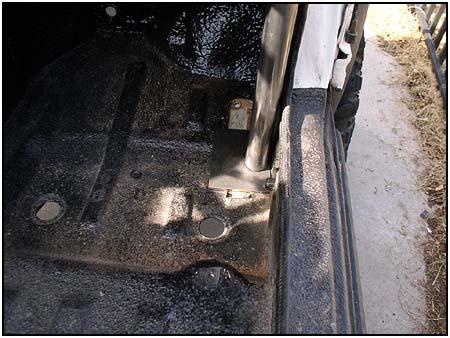
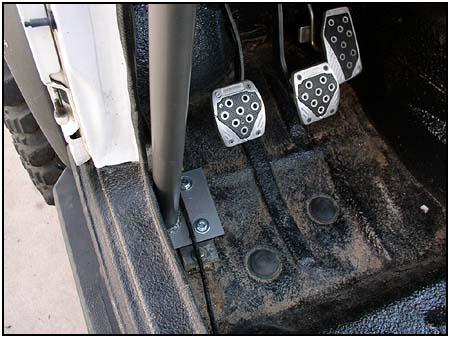
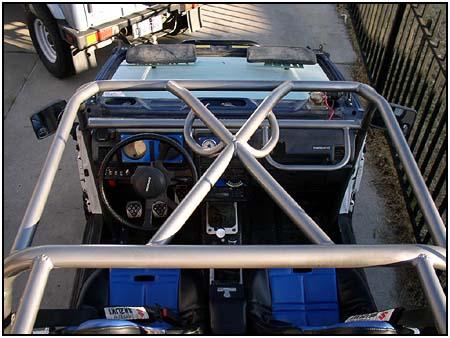
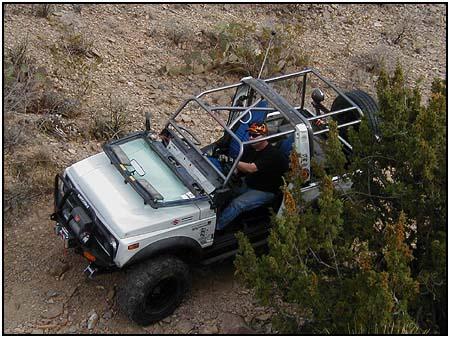
  The
cage was then removed from the vehicle and then welded up properly. We also
had Rock 4X include some additional hand holds. They were also positioned for
welding during this step. After a final 'check-fit', the holes were drilled
in the floor plates (and the floor) for mounting the front down tubes. These
mounting points sandwich the floor between two hefty steel plates. The
cage was then removed from the vehicle and then welded up properly. We also
had Rock 4X include some additional hand holds. They were also positioned for
welding during this step. After a final 'check-fit', the holes were drilled
in the floor plates (and the floor) for mounting the front down tubes. These
mounting points sandwich the floor between two hefty steel plates. |
||
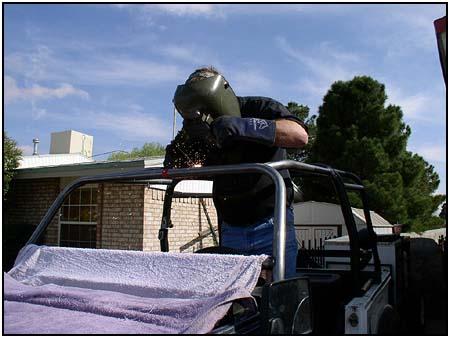
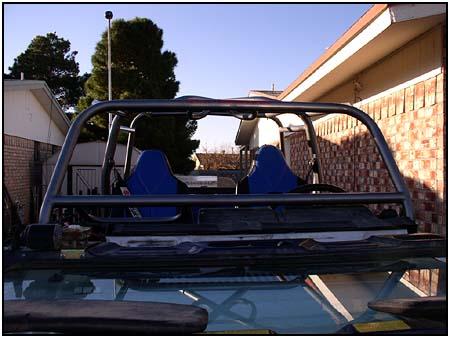
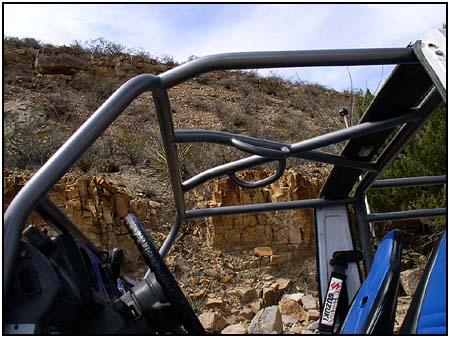
 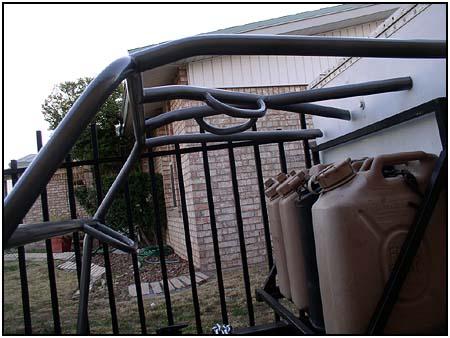 Next
came the easy part... painting! Understanding that the front part will be
hugging the dashboard, the new cage should be painted before it goes in. The
last foot of the tubes that are to be welded into the rest of the old cage
should be left clean until it is welded into place. Next
came the easy part... painting! Understanding that the front part will be
hugging the dashboard, the new cage should be painted before it goes in. The
last foot of the tubes that are to be welded into the rest of the old cage
should be left clean until it is welded into place. |
||
   |
||
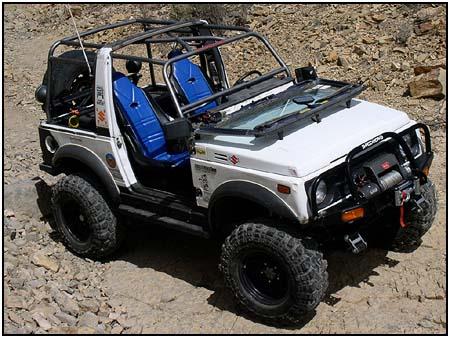
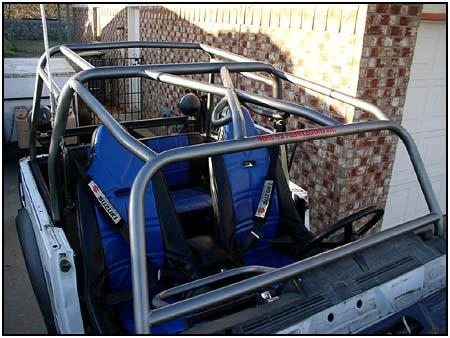
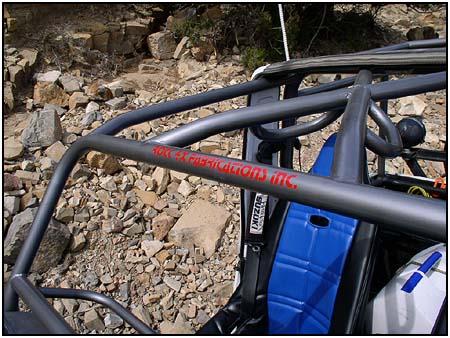
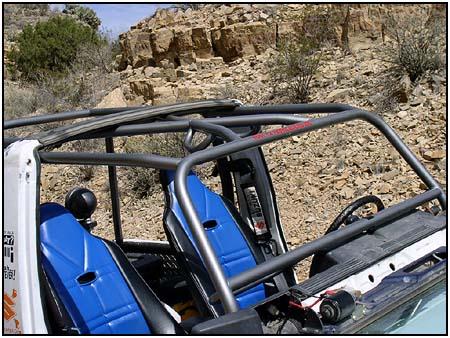
| You can see the finished product looks good and should perform well. The attention to detail on the way the whole kit goes together was amazing. The additional hand holds are far enough away from the driver and passengers head as to create a great support bar but not enough to be in the way. No guess work, no surprises, this was surely a pleasure to put together. | ||
    |
||
|
Rock 4X
Fabrication |
||
08/22/22 13:40
[articles/body/footer.htm]