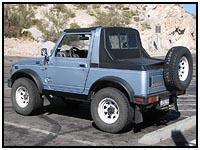
 Protection
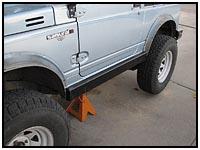
is important for many reasons. Whether you have a rock crawler or a
street cruiser, any additional protection for a Samurai is worth the
effort. Zuks Off Road has a new product that makes the installation
of rocker protection a lot easier. For those drivers that try to
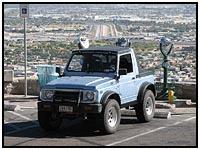
retain that 'stock look', these are the perfect fit. The Samurai to
the right has them installed... can you tell? Protection
is important for many reasons. Whether you have a rock crawler or a
street cruiser, any additional protection for a Samurai is worth the
effort. Zuks Off Road has a new product that makes the installation
of rocker protection a lot easier. For those drivers that try to
retain that 'stock look', these are the perfect fit. The Samurai to
the right has them installed... can you tell? |
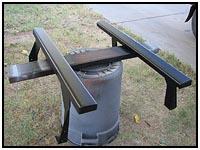
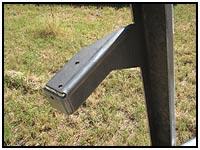 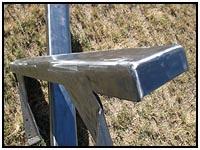 The
Rock Biter Kit is complete with the bolts required to install them
right away, or you can weld them onto the frame for more solid
protection. The rails start life as a sheet of cold rolled 1/4"
steel. After getting punched out with a CNC machine it gets folded
using a 100 ton press. Good and stout for whatever you whack them with. The legs are
formed and drilled for the attachment bolts. The
Rock Biter Kit is complete with the bolts required to install them
right away, or you can weld them onto the frame for more solid
protection. The rails start life as a sheet of cold rolled 1/4"
steel. After getting punched out with a CNC machine it gets folded
using a 100 ton press. Good and stout for whatever you whack them with. The legs are
formed and drilled for the attachment bolts. |
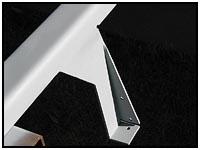  The
Rock Biters are delivered in a clean, raw steel form, so the first
thing on the list is to protect them with a good paint covering. For
street cruisers, consider a powder coating or even match the body
color. But for anything that could see a few obstacles, a decent
primer and rattle can covering that can be touched up easily works
better and will turn out to be more convenient. The
Rock Biters are delivered in a clean, raw steel form, so the first
thing on the list is to protect them with a good paint covering. For
street cruisers, consider a powder coating or even match the body
color. But for anything that could see a few obstacles, a decent
primer and rattle can covering that can be touched up easily works
better and will turn out to be more convenient. |
|
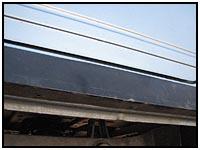 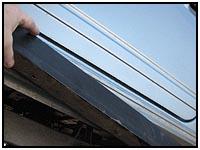  |
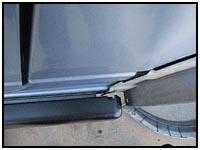
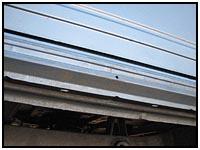 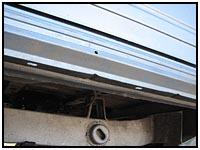 The
stock rubber rocker cover can be removed quickly, but then you
find the molding retainer channel that is under it. For all other
rocker protection, this channel has to be cut or ground off the
body. The Rock Biters cover these up. You can also see the seam that
forms a sharp edge below the rocker in the photo to the upper right.
This seam must be folded back to allow a solid seat for the Rock
Biter. You can do this with a hammer. The
stock rubber rocker cover can be removed quickly, but then you
find the molding retainer channel that is under it. For all other
rocker protection, this channel has to be cut or ground off the
body. The Rock Biters cover these up. You can also see the seam that
forms a sharp edge below the rocker in the photo to the upper right.
This seam must be folded back to allow a solid seat for the Rock
Biter. You can do this with a hammer. |
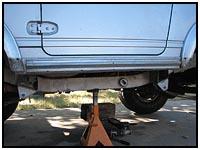 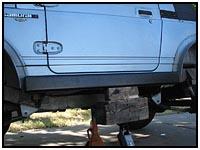 Once
the seam is folded back, remove the plastic fenders. These will have
to be trimmed to fit back into place once the Rock Biters are
installed. Once
the seam is folded back, remove the plastic fenders. These will have
to be trimmed to fit back into place once the Rock Biters are
installed. |
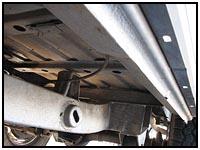
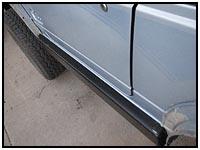
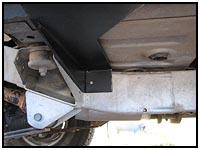 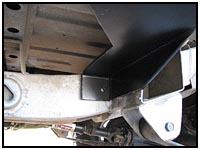 The
legs fit up against the underside of the body and attach to the
frame using the bolts provided. The bolts holes that go through the
frame will require a little more preparation. It is best to sleeve
those by welding in a strengthening tube so that the frame does not
crush as you torque them down. We welded our Rock Biters directly to
the frame for added strength. The
legs fit up against the underside of the body and attach to the
frame using the bolts provided. The bolts holes that go through the
frame will require a little more preparation. It is best to sleeve
those by welding in a strengthening tube so that the frame does not
crush as you torque them down. We welded our Rock Biters directly to
the frame for added strength. |
|
   |
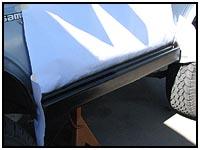 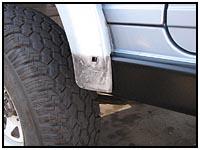 A
final coat of paint is easy to apply before starting on the fenders.
The stock fenders have a small notch exactly where the new rocker
comes out from the body. The new rocker is about 2" deep, so you
need to trim the fender to fit around it. A
final coat of paint is easy to apply before starting on the fenders.
The stock fenders have a small notch exactly where the new rocker
comes out from the body. The new rocker is about 2" deep, so you
need to trim the fender to fit around it. |
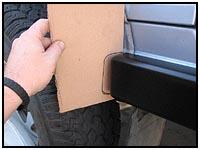 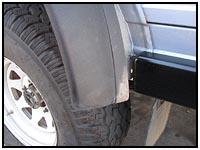 The
best way to mark the cutout is with a piece of cardboard. Using a dremel was the easiest way to cut the fenders. We installed these on
a vehicle that already had aftermarket fender flares installed, and
the trimming was handled exactly the same way. The
best way to mark the cutout is with a piece of cardboard. Using a dremel was the easiest way to cut the fenders. We installed these on
a vehicle that already had aftermarket fender flares installed, and
the trimming was handled exactly the same way. |
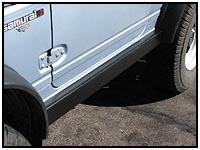
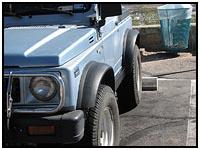
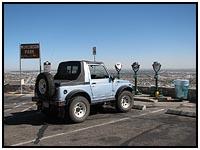 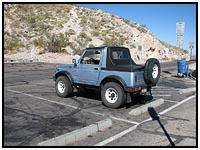 These
pictures show the difference (or how little difference) there is
between stock rockers and Rock Biters. Can you tell the difference
without clicking on the pictures? The installation came out really
nice and complimented the look of the vehicle. But now there are no
worries when driving up that ledge or through that boulder field. These
pictures show the difference (or how little difference) there is
between stock rockers and Rock Biters. Can you tell the difference
without clicking on the pictures? The installation came out really
nice and complimented the look of the vehicle. But now there are no
worries when driving up that ledge or through that boulder field. |
|
   |
 Source: Source:
Zuks Off Road
586 Azure Drive
Camp Verde, AZ 86322
Phone
(714) 488-2272 |

