|
|
Fully
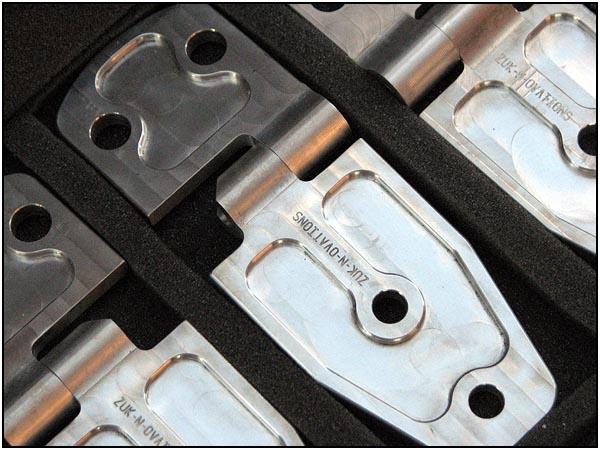
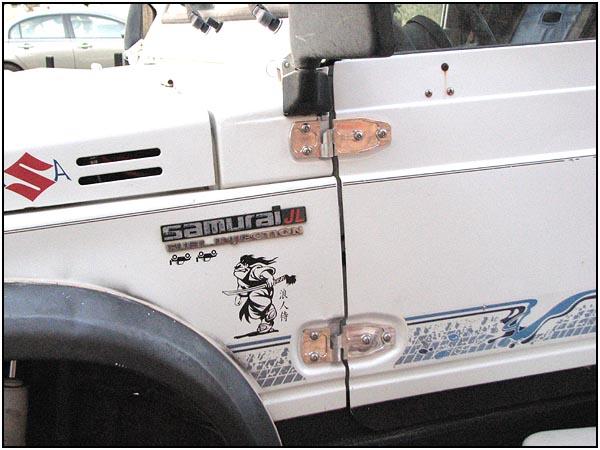
Machined Billet Aluminum Door Hinges
with Bill Johnston
The
removal of the doors on a Suzuki Samurai is probably the most common upgrade
done. It takes about thirty minutes with a dremel or cutoff wheel and can be
done by just about anyone. Here is a couple of links to show you how.
Door Hinge Conversion
But for those that are looking for a bolt-on solution, and one that looks
pretty darn impressive, consider the set produced and distributed by Zuk-N-Ovations.
These billet aluminum components are computer designed and machined to fit
perfectly. They are packaged with a full set of instructions. They also come
with a full set of stainless steel fasteners that replace the screws that
Suzuki chemically welded to the body. Ok, maybe not a chemical weld, but
close enough. |
   |
 The
screws have been held in place by a form of locktite that has been plaguing
the zook community for decades. Here are a few different ways you can use to
remove those screws.
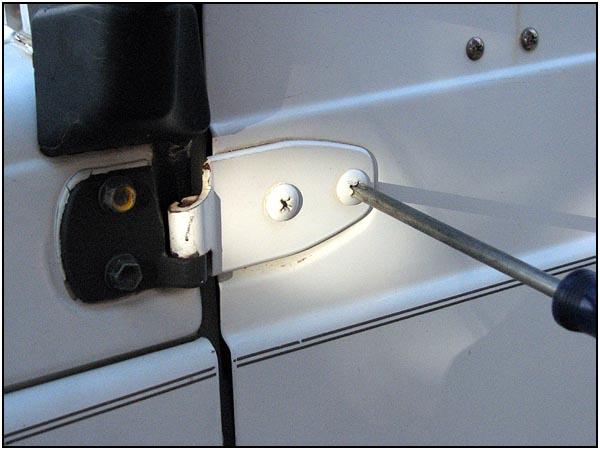
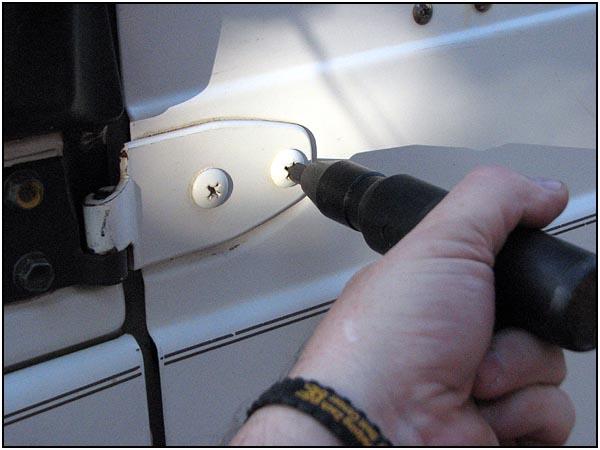
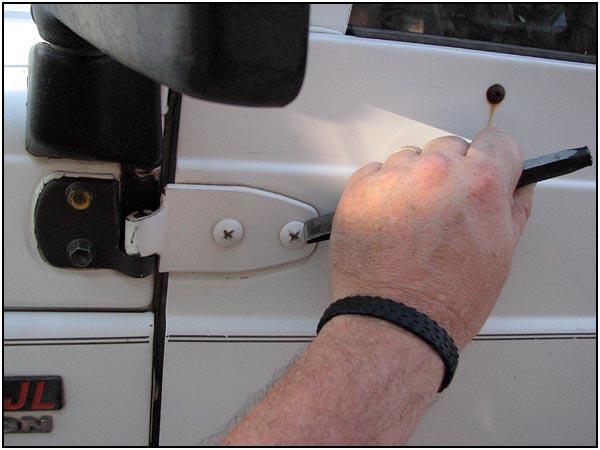
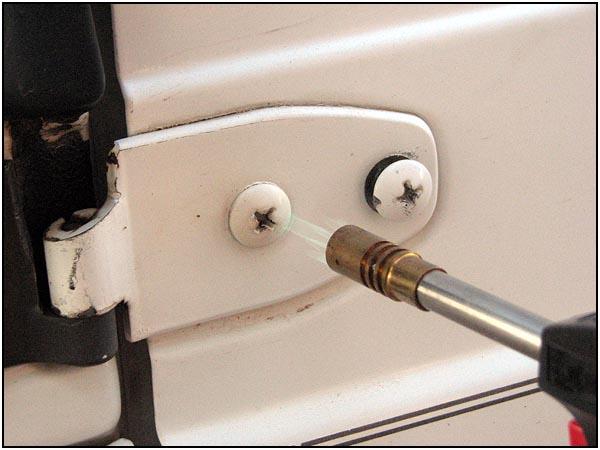
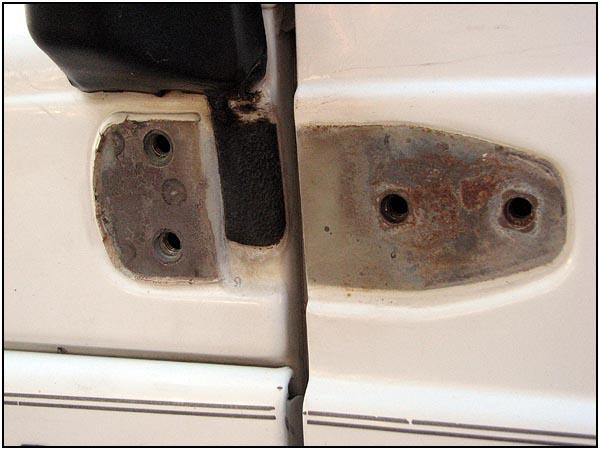
To the left we use a standard #2 phillips screwdriver. If you can remove
them like this, they have probably already been removed at least once. To
the right you can see the use of an impact driver. This is a screwdriver
that uses the help of a hammer to apply more force. Below, you can see the
use of a chisel to nick the edge and force the screw counterclockwise. And
finally we try a propane torch. The heat will liquefy the adhesive and allow
the use of the standard screwdriver. Be warned though, it will still burn
the paint, so be careful to only heat the screw and a little of the hinge.
The hinge is being replaced anyway, so a little heat on the stock hinge
won't ruin your day. |
   |
 If
you are going for good looks, then it would be a smart thing to clean up the
area under the old hinge and then touch it up with some body matching paint.
Do one hinge at a time and it will be easier to get the door set correctly
as you go. |
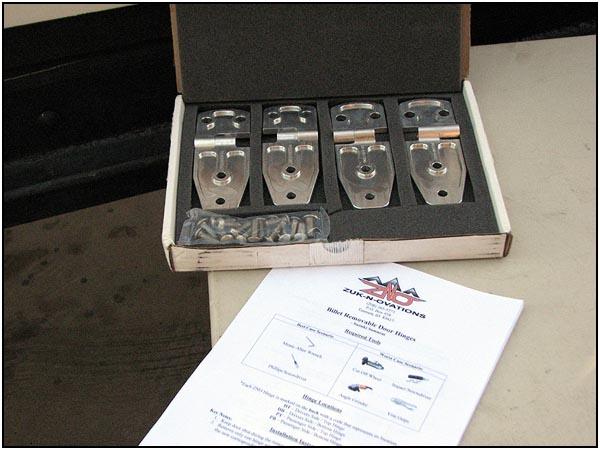
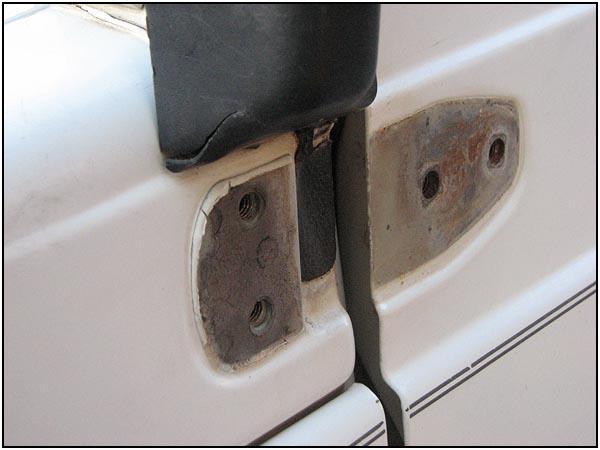
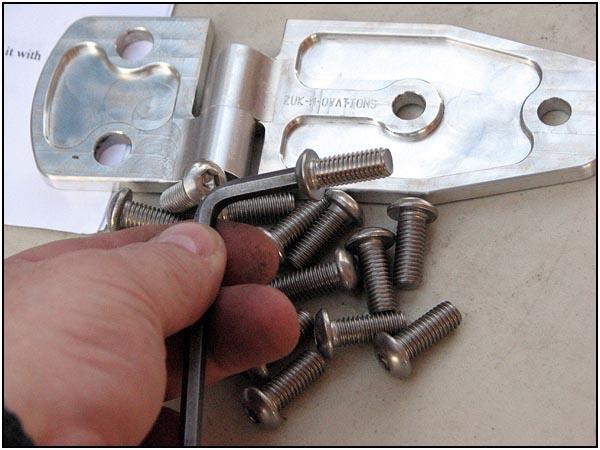
The
stainless hardware will make sure that rust doesn't become a factor in the
future.
|
   |
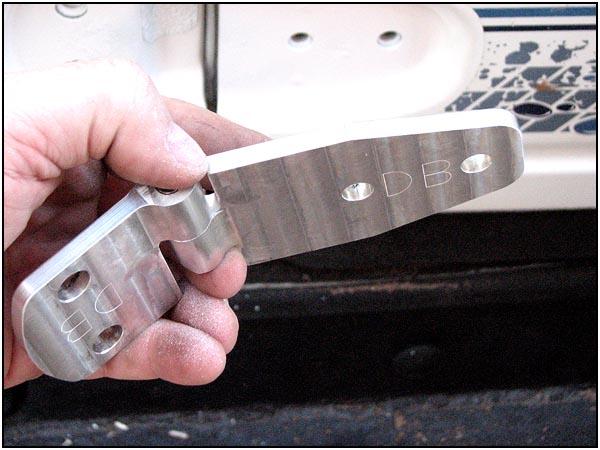
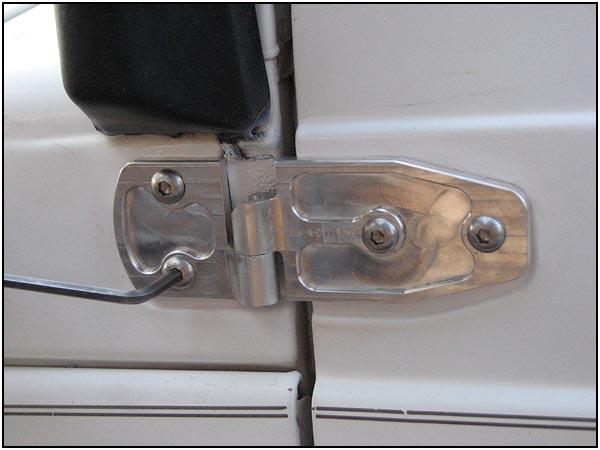
Granted, it's much cheaper to convert your stock hinges with a cutoff
wheel. But hey if the budget allows, this definitely looks better and it's a
cool set of hinges. |
Source:
ZUK-N-OVATIONS
8395 W. Idaho Blvd
Letha, ID 83636
(208) 365-5774 |