|
Petroworks Mudbuster Fender Flares with Bill Johnston
|
||
 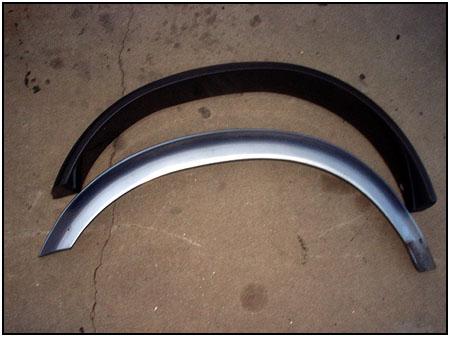 Petroworks
now carries the MudBuster Fender Flares. They are designed to be a direct
replacement using factory mounting clip. These are an made from a High
Density Polyethylene and they are "high impact resistant" which means they
take a pretty good hit. The MudBuster guys drove over one of their flares
with a Samurai and it was marked up a little from scuffing the cement but
sprung right back into shape. The black color is a natural UV stabilizer so
they have no reason to expect any brittleness problems for 7 to 10 years or
longer. What does that mean? They will take abuse, and will not shatter on
impact! Petroworks
now carries the MudBuster Fender Flares. They are designed to be a direct
replacement using factory mounting clip. These are an made from a High
Density Polyethylene and they are "high impact resistant" which means they
take a pretty good hit. The MudBuster guys drove over one of their flares
with a Samurai and it was marked up a little from scuffing the cement but
sprung right back into shape. The black color is a natural UV stabilizer so
they have no reason to expect any brittleness problems for 7 to 10 years or
longer. What does that mean? They will take abuse, and will not shatter on
impact! |
||
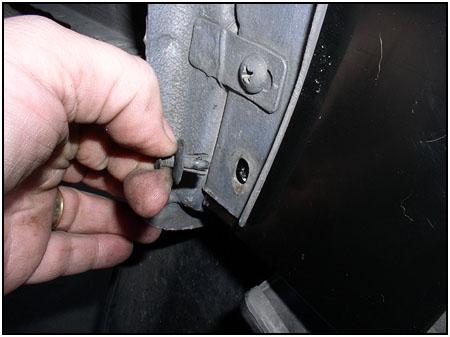
  Installation
starts pretty easy as you just remove the factory molding ends (gently, as
you will reuse them) and then remove the factory retainer clips. These can
be removed with a standard phillips screwdriver. If they have gotten brittle
from with age, don't worry because new clips are included with the fenders! Installation
starts pretty easy as you just remove the factory molding ends (gently, as
you will reuse them) and then remove the factory retainer clips. These can
be removed with a standard phillips screwdriver. If they have gotten brittle
from with age, don't worry because new clips are included with the fenders! |
||
|
|
||
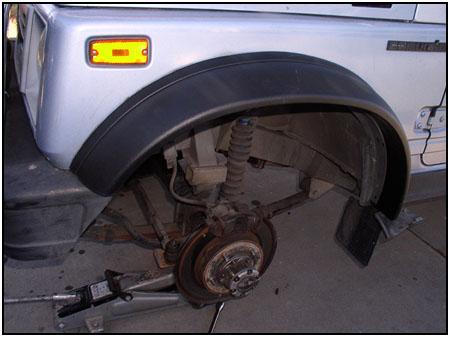
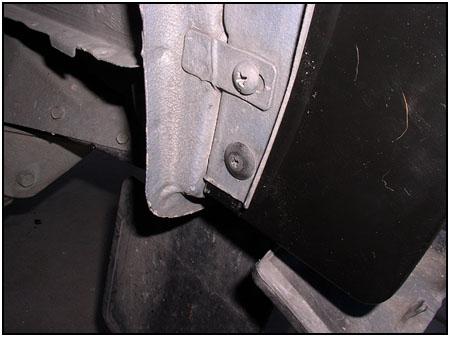
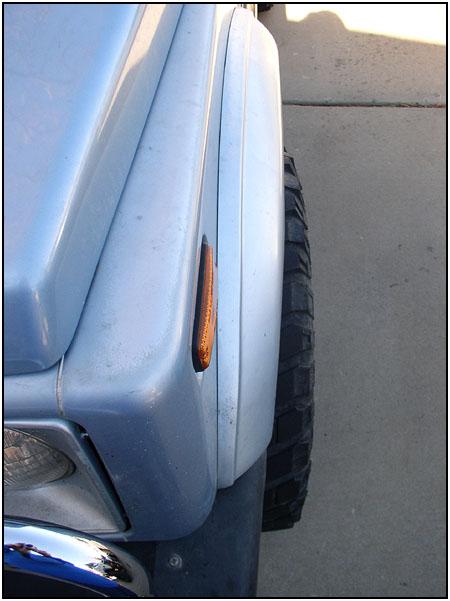
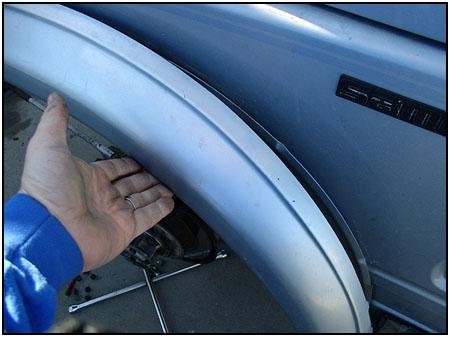  The
stock fender lifts off of the body mounted retaining bracket. Look closely
at the edge of the fender and you will notice the ridges that hook over the
retaining bracket. The new fenders use the same kind of ridges, so set them
in place like the stock fenders. The front fenders have are
not interchangeable (left to right), so make sure you match the the shape to the originals. The
stock fender lifts off of the body mounted retaining bracket. Look closely
at the edge of the fender and you will notice the ridges that hook over the
retaining bracket. The new fenders use the same kind of ridges, so set them
in place like the stock fenders. The front fenders have are
not interchangeable (left to right), so make sure you match the the shape to the originals.
|
||
|
|
||
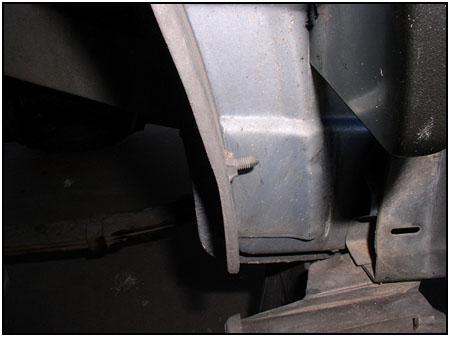  When
lining the fenders up, there are two places to check. At the trailing edge
of the retaining bracket (near the door) you will see a factory screw that
helps to hold the bracket in place. There are corresponding holes in the new
fender that the back of these screws will fit into. There is also a faint
molding line on the underside of the fender where it rests on the top part
of the retaining bracket. This line will line up with the mounting hole at
the top center of the bracket. When
lining the fenders up, there are two places to check. At the trailing edge
of the retaining bracket (near the door) you will see a factory screw that
helps to hold the bracket in place. There are corresponding holes in the new
fender that the back of these screws will fit into. There is also a faint
molding line on the underside of the fender where it rests on the top part
of the retaining bracket. This line will line up with the mounting hole at
the top center of the bracket. |
||
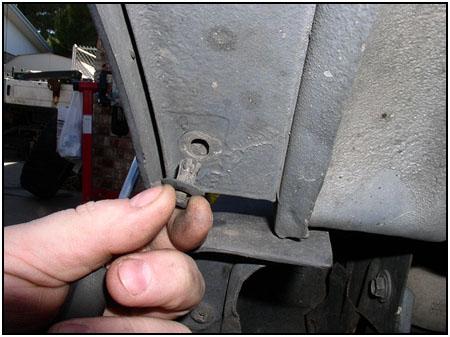
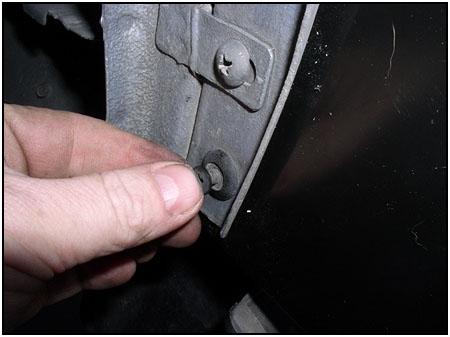
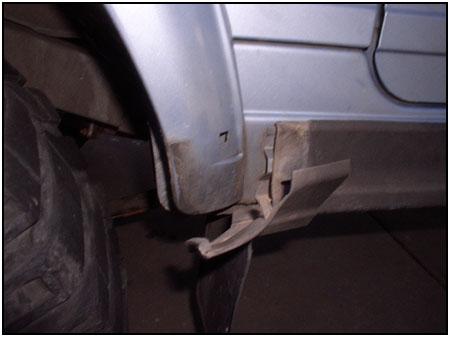
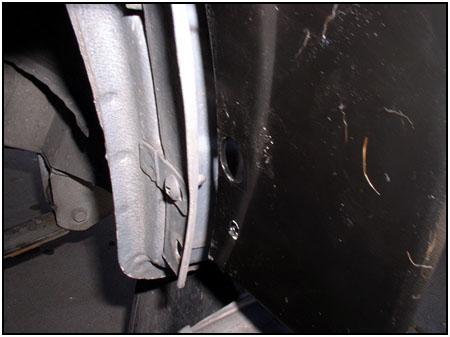
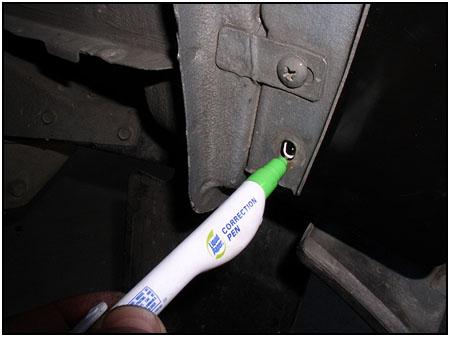  The
holes for the retainer clips are not drilled at the factory, just in case
your panels are a little out of alignment. Using a white marker (I used a
'white-out' pen) you can mark the holes for drilling. Once the holes are
drilled, just drop them back into place and 'pop' in the fasteners. No need
to use a screwdriver for this, just hold the fender firmly against the
bracket and use your thumb to push the clips into place. The
holes for the retainer clips are not drilled at the factory, just in case
your panels are a little out of alignment. Using a white marker (I used a
'white-out' pen) you can mark the holes for drilling. Once the holes are
drilled, just drop them back into place and 'pop' in the fasteners. No need
to use a screwdriver for this, just hold the fender firmly against the
bracket and use your thumb to push the clips into place. |
||
|
|
||
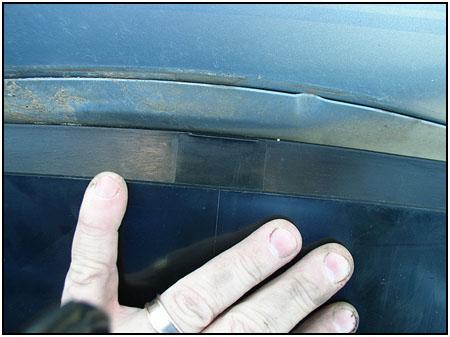
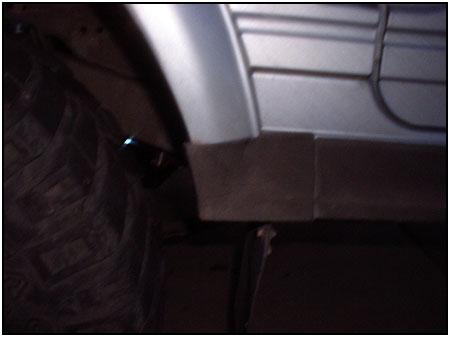
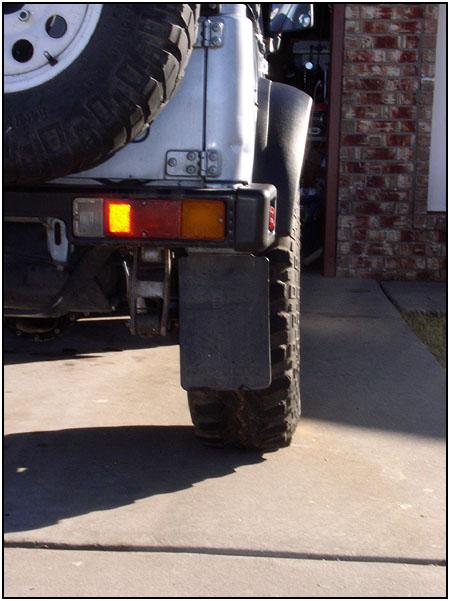
  The
last step is to trim the rear bumper caps and the factory rocker molding
ends (remember we gently removed them at the beginning?). The instructions
show how they should be trimmed. If you take your time you will be surprised
how many folks never notice it was trimmed. We apologize for the mud, these
shots were taken on 'mud test' day. The
last step is to trim the rear bumper caps and the factory rocker molding
ends (remember we gently removed them at the beginning?). The instructions
show how they should be trimmed. If you take your time you will be surprised
how many folks never notice it was trimmed. We apologize for the mud, these
shots were taken on 'mud test' day. |
||
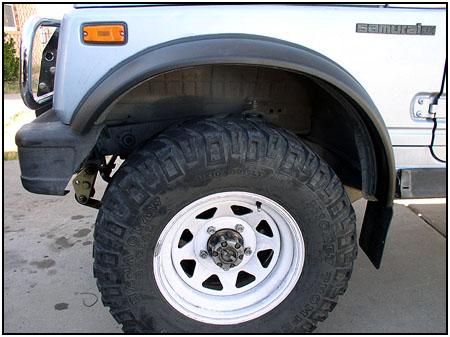
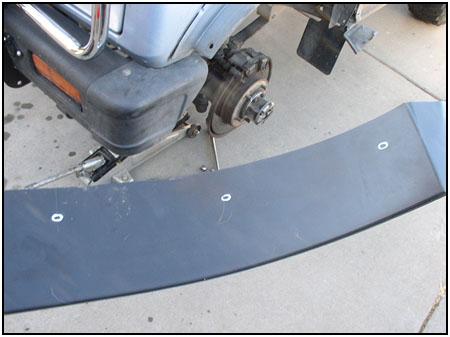
 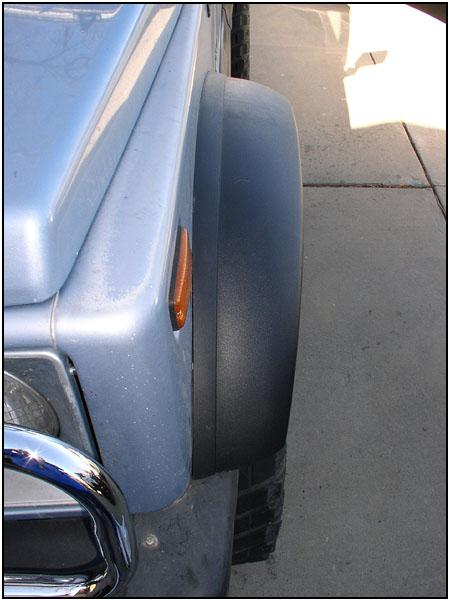 You
can see that they are similar, but twice the width of the stock fenders.
These photos show how much a set of 31/10.50/15R tires show when mounted on
standard 8" rims with 3.75" of back space. Although this
installation shows us replacing the 'early' style fenders, they are also a
direct replacement for the newer steel fenders, you just use the plastic
clips (included) instead of the 10mm bolts. You
can see that they are similar, but twice the width of the stock fenders.
These photos show how much a set of 31/10.50/15R tires show when mounted on
standard 8" rims with 3.75" of back space. Although this
installation shows us replacing the 'early' style fenders, they are also a
direct replacement for the newer steel fenders, you just use the plastic
clips (included) instead of the 10mm bolts. |
||
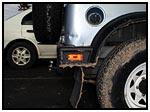
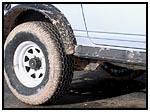
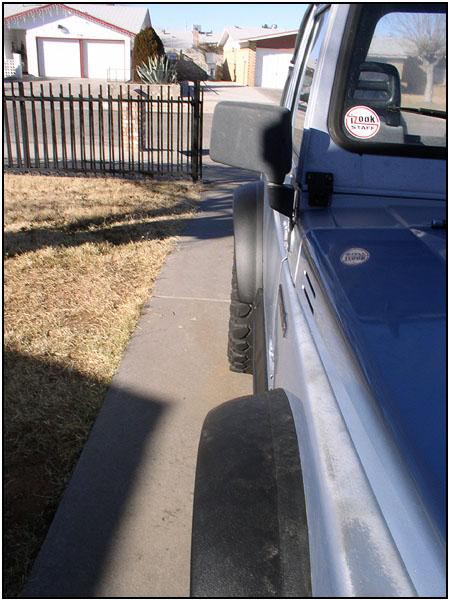  Here
you can see what they look like with a 33/12.50/15 Swamper. Still enough
fender (almost another inch!) to keep the tickets away. Here
you can see what they look like with a 33/12.50/15 Swamper. Still enough
fender (almost another inch!) to keep the tickets away.
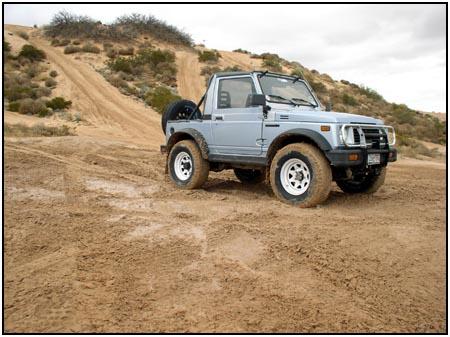
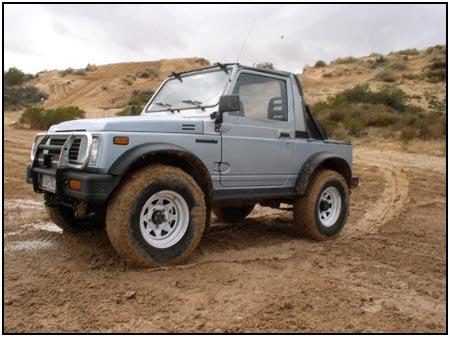
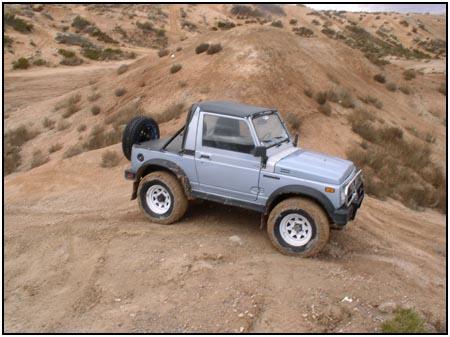
Finally, we took the Zook out to what little mud we could find (the desert southwest doesn't have much) and we tried to get it dirty... not much luck though - the fenders did their job well and didn't let much touch the body. |
||
|
|
||
| These fenders really showed their strength, quality and good looks. Total installation time: two hours (it would have been less, but we really took our time during the trimming portion). | ||
| Source:
Petroworks Off-Road Products |
08/22/22 13:49