| Back to page 1 | |||
|
|
|||
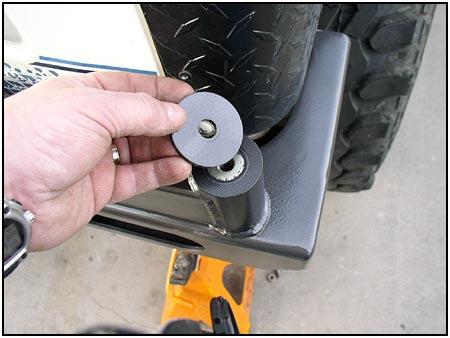
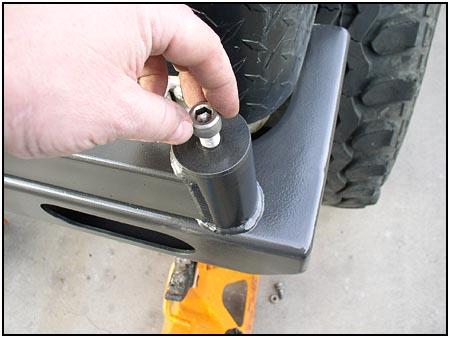
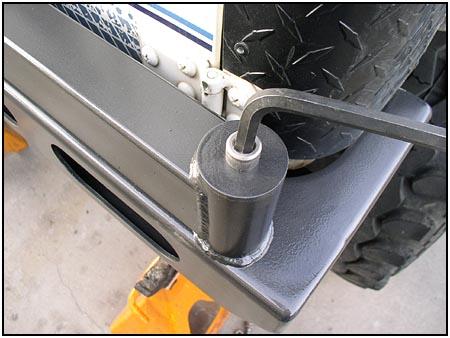
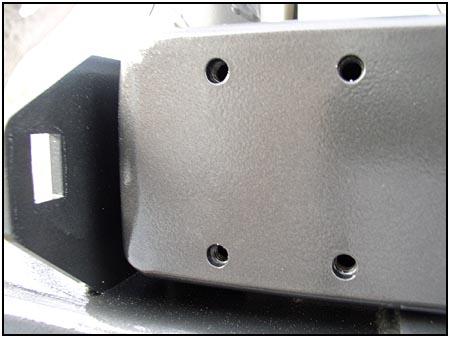
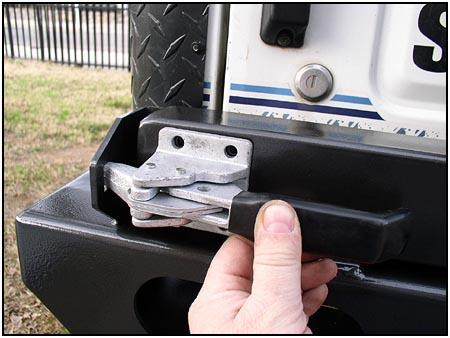
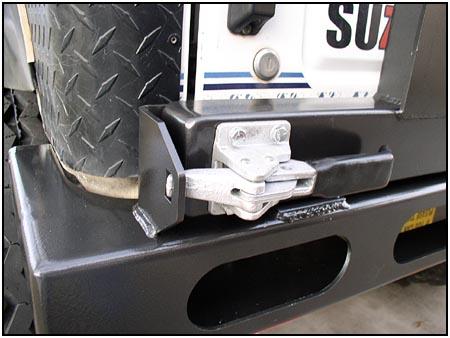
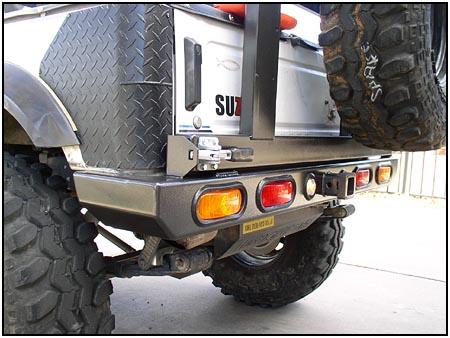
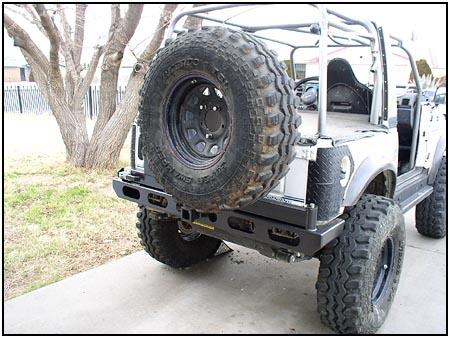
| Next we bolted on the optional Swing Away Tire Rack. When the bumper is ordered with this option, there is a 1" pivot rod welded through the bumper. Using the 2" washer supplied with the rack, everything is secured with a stainless steel allen head bolt. The latch at the other end is just as easy to install. The bolt holes are predrilled and the backing nuts are welded in place. Bolting the latch in place is a simple twist of a ratchet for the four bolts. | |||
|
|
|||
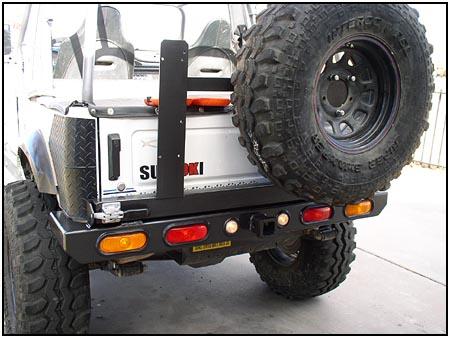
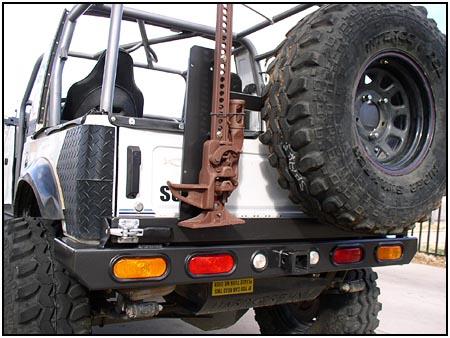
 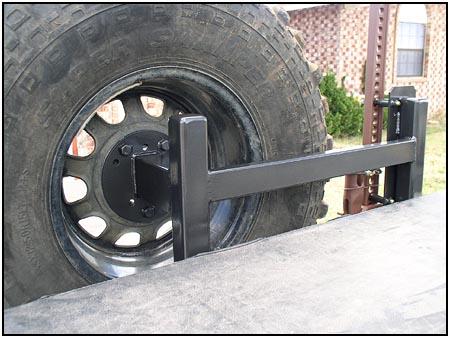 The
rack easily holds the 33/12.50/15R TSL with room to spare. There is enough
room to hold a 15" wide tire on standard offset rims. This also keeps the
tire on the passenger side without sticking out the side of the body. The
rack easily holds the 33/12.50/15R TSL with room to spare. There is enough
room to hold a 15" wide tire on standard offset rims. This also keeps the
tire on the passenger side without sticking out the side of the body. |
|||
|
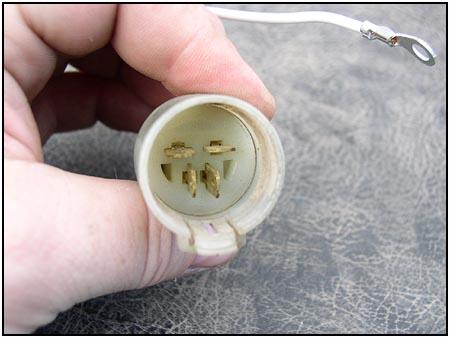
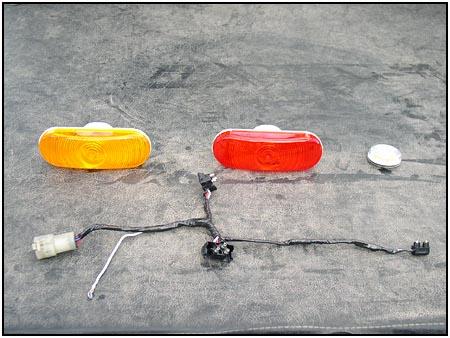
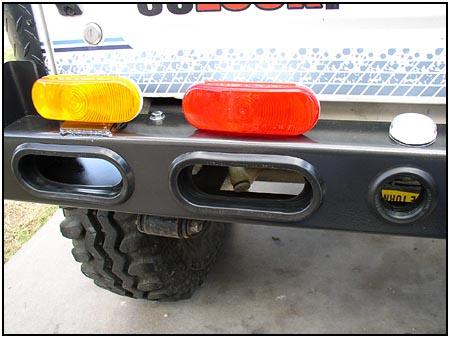
 The
lights are the same style found at most truck stops. So if you are prone to
trail damage, you can pick up replacements almost anywhere. The
lights are the same style found at most truck stops. So if you are prone to
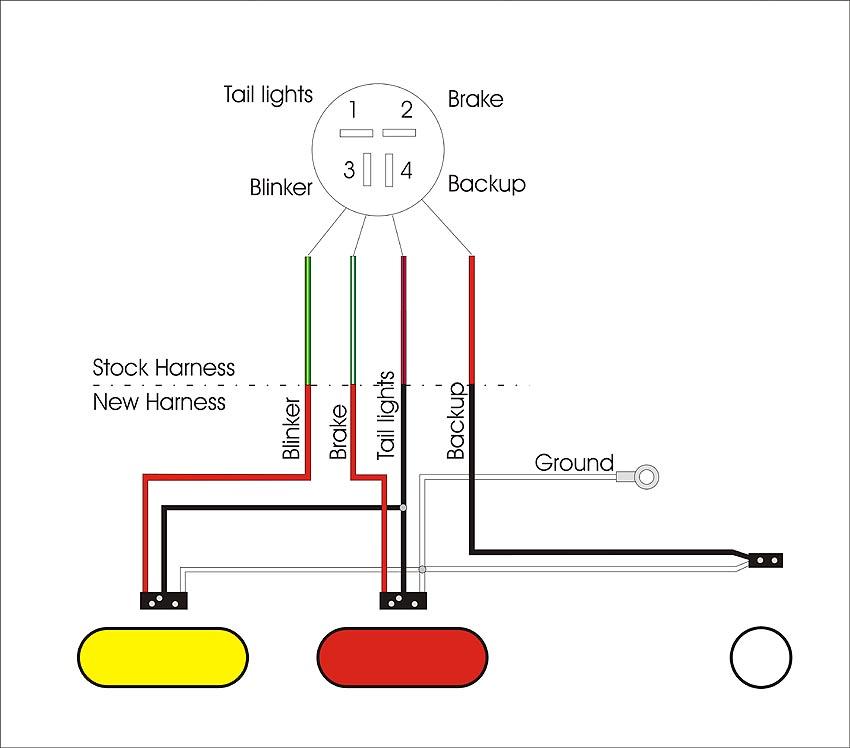
trail damage, you can pick up replacements almost anywhere.The 'light side' plug that we mentioned earlier can now be used to put together a new harness. Instead of just crimping all the wires together and using zip ties keep them out of the way, we decided to build a new wiring harness for both sides of the bumper. This wasn't as hard as it sounds. The diagram on the right will not only work for this installation, but also with most of the bumpers out on the market today. |
||
|
|
|||
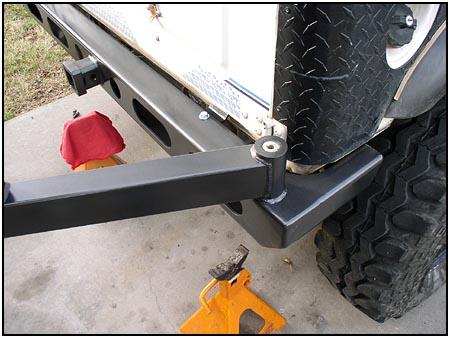
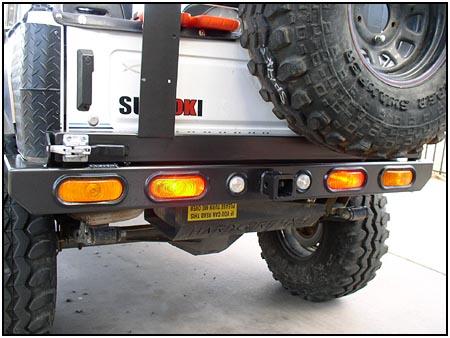
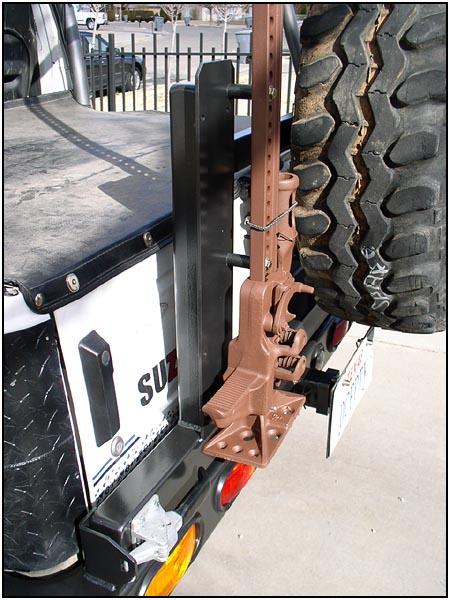  This
tire rack also had the Multi-Mount option. This allows you to hang a
High-Lift jack off of the back using hardware that is included. There are
also holes predrilled so you can mount a Con-Ferr Blitz Can Carrier (for a 5
gallon gas can). The 2' receiver built into the bumper is another feature
that allows you to customize you rig. You can use it to mount tow hooks,
bike racks, or even a license plate holder like in the picture to the right. This
tire rack also had the Multi-Mount option. This allows you to hang a
High-Lift jack off of the back using hardware that is included. There are
also holes predrilled so you can mount a Con-Ferr Blitz Can Carrier (for a 5
gallon gas can). The 2' receiver built into the bumper is another feature
that allows you to customize you rig. You can use it to mount tow hooks,
bike racks, or even a license plate holder like in the picture to the right.This bumper looks good and performs better. It also goes great with the Shrockworks front winch bumper. Stay tuned for trail pix! |
|||
 Source: Source:
ShrockWorks - Offroad Fabrication |
|||
08/22/22 13:55