|
Power from John's Foreign Engines part 1 with Bill Johnston
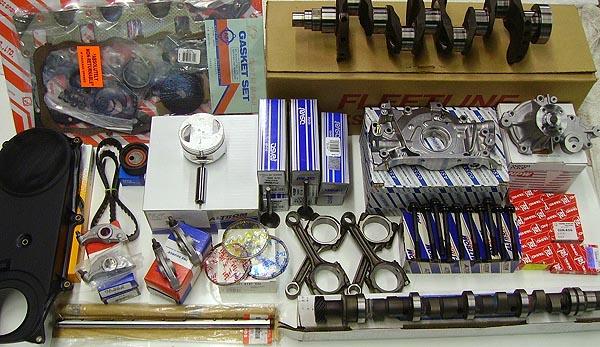
John's Foreign Engines supplied us with a very complete rebuild kit that would almost double the horsepower. |
||
  We
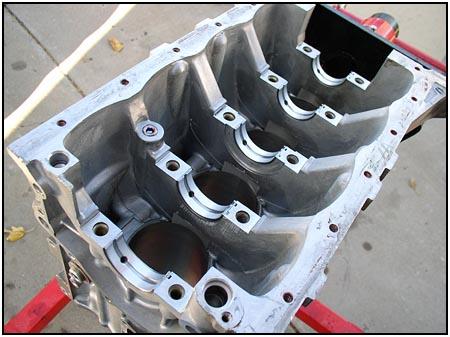
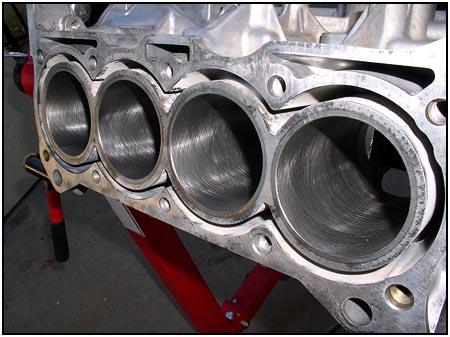
started with the larger of the two versions of the 1.3ltr blocks. Suzuki
produced the 1298cm3 and the 1324cm3. We had the block tanked, the cylinders
bored .020 over and then honed to clean it up. Then we started assembly. We
started with the larger of the two versions of the 1.3ltr blocks. Suzuki
produced the 1298cm3 and the 1324cm3. We had the block tanked, the cylinders
bored .020 over and then honed to clean it up. Then we started assembly. |
||
|
|
||
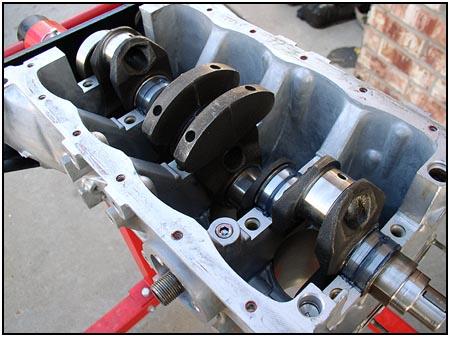
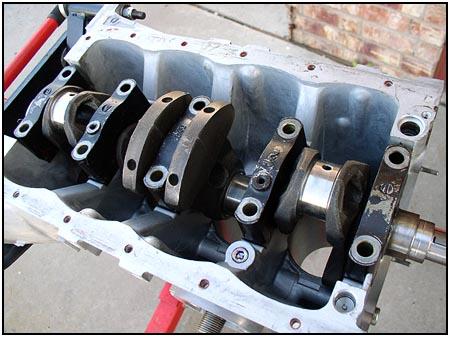
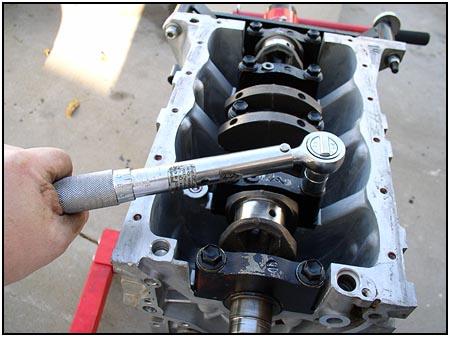
  The
factory service manual will take you through a total build step by step, so
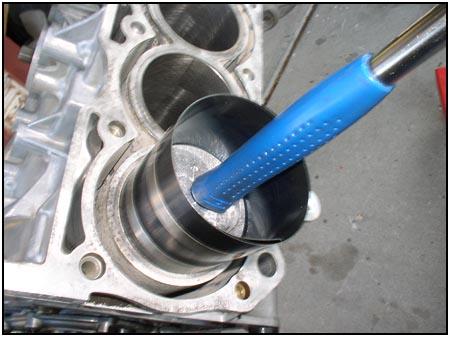
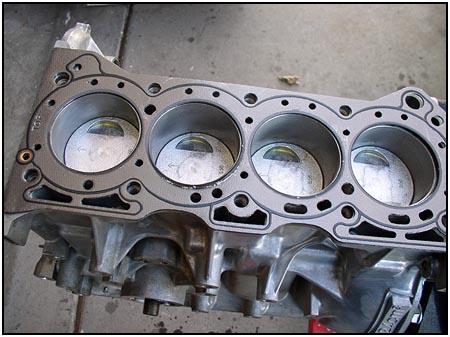
we aren't looking to do that here. But a few tips... Make sure you
know how to use your torque wrench, and really use it to get the specs
right. And to protect the cylinder walls from unnecessary scratches, use a
couple of pieces of fuel line on the rod bolts as you slide/tap the new
pistons in place. The
factory service manual will take you through a total build step by step, so
we aren't looking to do that here. But a few tips... Make sure you
know how to use your torque wrench, and really use it to get the specs
right. And to protect the cylinder walls from unnecessary scratches, use a
couple of pieces of fuel line on the rod bolts as you slide/tap the new
pistons in place. |
||
|
|
||
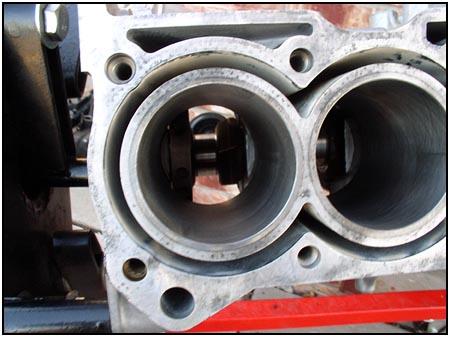
 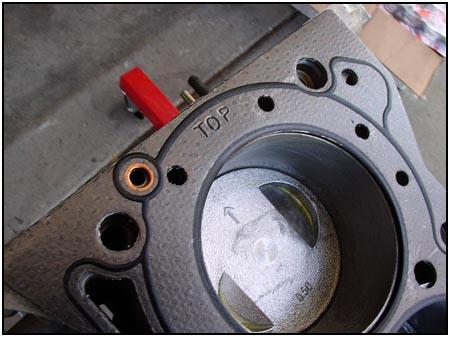 One
of the most common mistakes is the placement of the head gasket. Make sure
all the holes line up and the word 'TOP' is visible. Many times these
gaskets are installed upside down, and that will block off important oil
channels which will lead to oil starvation and a seized head. One
of the most common mistakes is the placement of the head gasket. Make sure
all the holes line up and the word 'TOP' is visible. Many times these
gaskets are installed upside down, and that will block off important oil
channels which will lead to oil starvation and a seized head. |
||
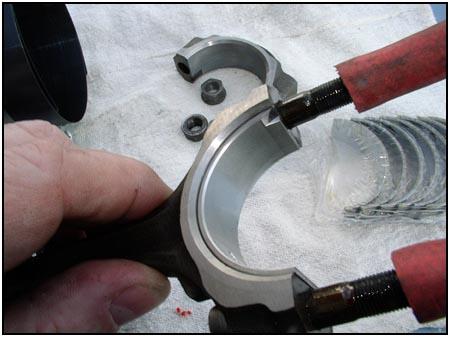
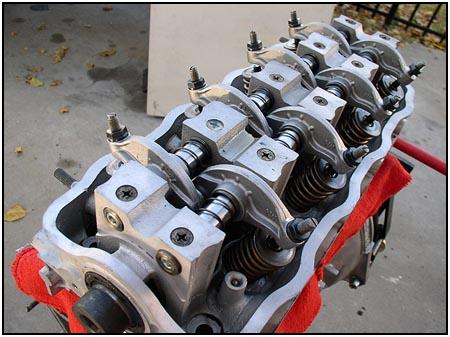  We
cheated a little. When we had the head tanked (cleaned), we also had the
machine shop assemble the head with the new parts from the JFE kit which
included replacing the valve guides. It was an easy decision as we also had
them machine the valve openings (valve job) to match the new valves. They
left the valves loose so that we could do the final adjustments when we
installed the head. We
cheated a little. When we had the head tanked (cleaned), we also had the
machine shop assemble the head with the new parts from the JFE kit which
included replacing the valve guides. It was an easy decision as we also had
them machine the valve openings (valve job) to match the new valves. They
left the valves loose so that we could do the final adjustments when we
installed the head. |
||
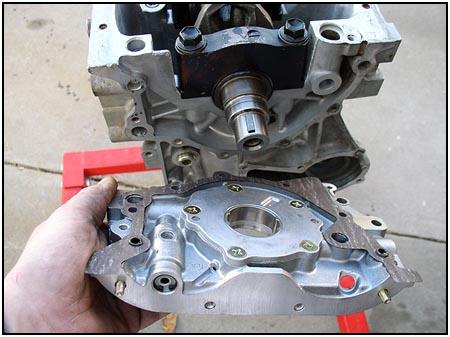
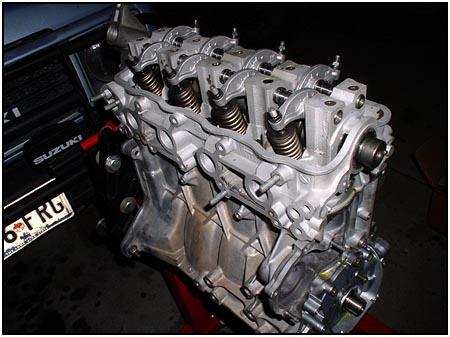 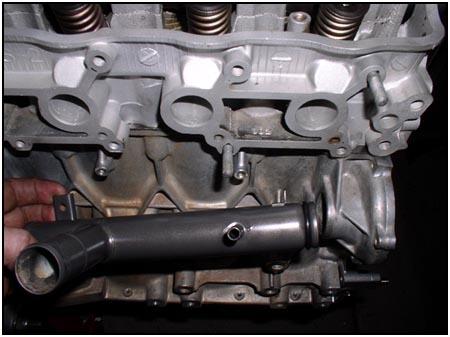 Bolting
the head on and applying the correct torque is very important because it is
very easy to over torque and strip the threads in the block. Been there,
done that and learned the hard way many years ago... Bolting
the head on and applying the correct torque is very important because it is
very easy to over torque and strip the threads in the block. Been there,
done that and learned the hard way many years ago...Another tip - The water pipe has a new o-ring. Use plenty of lube so that you don't pinch the seal as you install it. |
||
 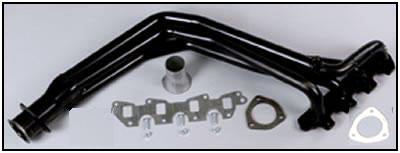 Also
included in the kit is a new Weber carb and a new Pacesetter header. We will
get more into these parts during the tuning as we get it running in the
vehicle. Also
included in the kit is a new Weber carb and a new Pacesetter header. We will
get more into these parts during the tuning as we get it running in the
vehicle. |
||
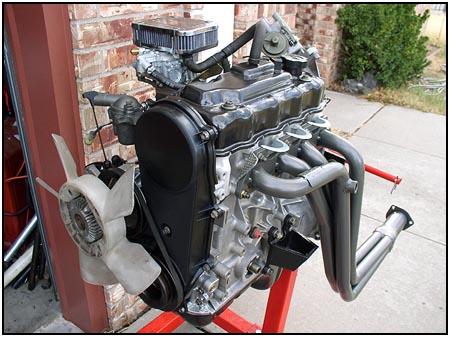  Although
this is probably the most complete kit out there, you will still have to add
your favorite brand of oil filter, plugs and wires. We also added a set of
Dodge motor mounts for strength. Although
this is probably the most complete kit out there, you will still have to add
your favorite brand of oil filter, plugs and wires. We also added a set of
Dodge motor mounts for strength.With the engine built, the next step will be to install it and break it in. So keep an eye on this build as we surprise a few folks out on the road. |
||
|
Source:
John's
Foreign Engines |
||
07/08/2010