|
|
|

with Bill Johnston
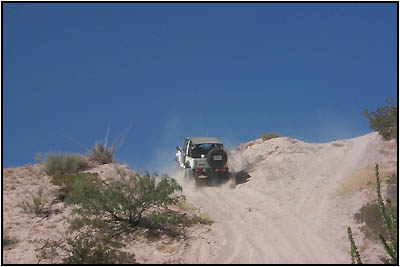
While some zook pilots have replaced the entire axle assembly with a larger
(non-Suzuki) component for more strength, it isn't always a requirement. This series
will show how you can add upgrades to the stock axle that will provide lift,
strength and durability without re-engineering your suspension.
|
|
 |
  The
project started when I realized that it would be a good idea to have a
spare front axle for those times when I
wanted to really jump on it but knew I had to get to the office on
Monday (this vehicle is a daily driver). As the project progressed,
the axle went under the zook and the original went into the garage for
a rebuild. The
project started when I realized that it would be a good idea to have a
spare front axle for those times when I
wanted to really jump on it but knew I had to get to the office on
Monday (this vehicle is a daily driver). As the project progressed,
the axle went under the zook and the original went into the garage for
a rebuild. |

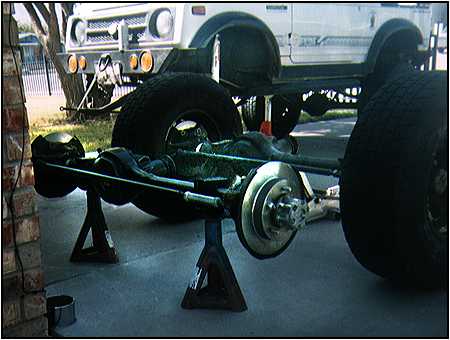
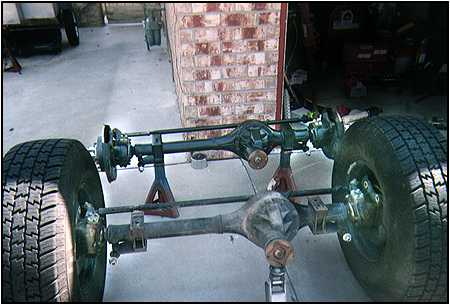
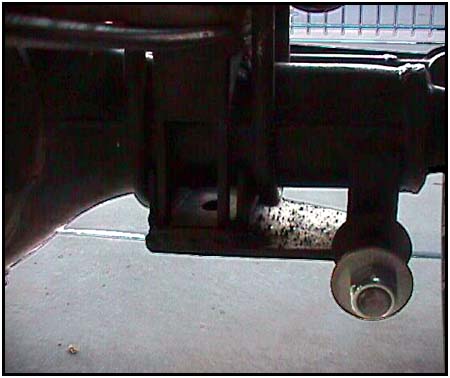
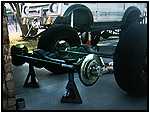
From the rear
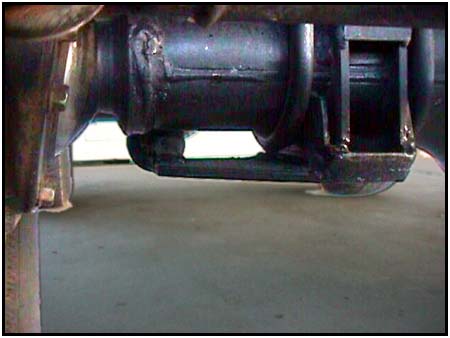
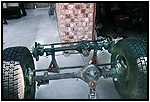
From the front
|
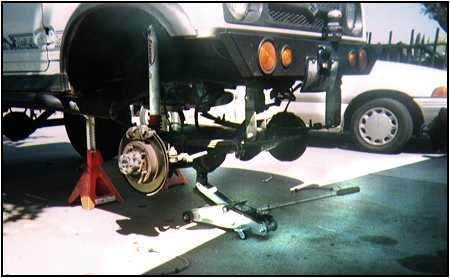
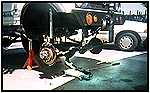
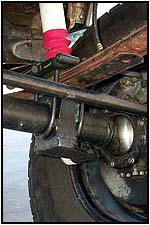
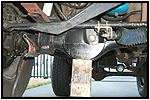
How was it upgraded you ask? We started with a simple set of
lower shock mounts from Petroworks. They are welded to the bottom of
the stock perches with an additional support strut that attaches out
near the end of the axle tube. The photos on the left show
the same mounts on the original axle featuring the first SPOA pads I used.
These were the earlier generation SPOA pads made by Glenn Wakefield
back when Rocky Road Outfitters was still known as Summit Offroad. The
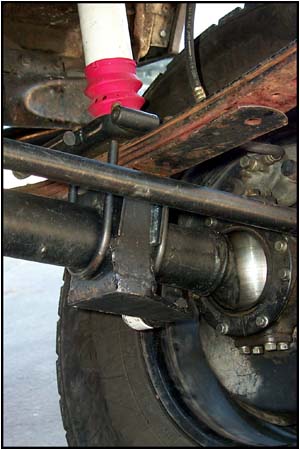
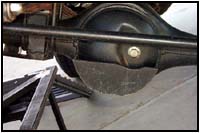
photo on the right shows the new generation spring perch with a shock
mount welded to the bottom of the original SPUA perch. The
perches we are using for this buildup are the newest design from Rocky Road Outfitters.
These have some truly beefy walls to support the load. The perches
used on our original SPOA conversion served well and will continue
life under the parts trailer being assembled for an upcoming feature.
The earlier design incorporated a pair of "legs" on each side of the axle tube. Both designs allow the perch to wrap around the axle tube and attach
to the original perch. This allows you to put more heat for a solid weld at the
original perch and thus doesn't weaken the axle tube. I only used two
small tack welds on each side to hold the tube in place while I made
the perch-to-perch connection more permanent. |
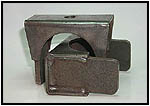
The newer, beefier
RRO SPOA perches
|
|
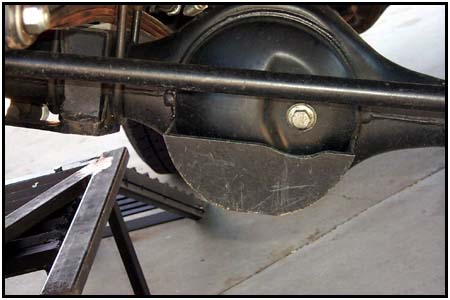
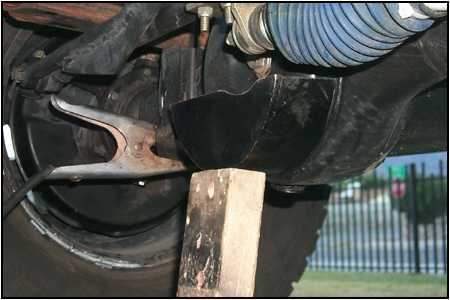
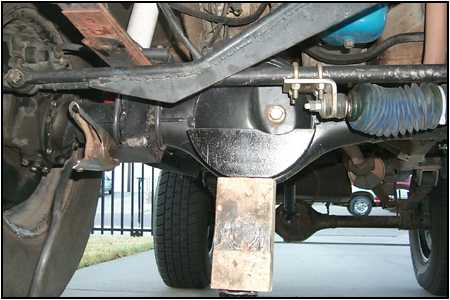
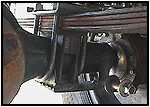
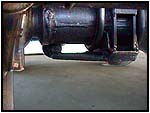
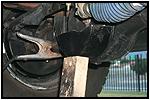
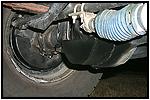
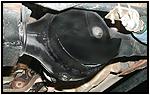
Next
we wanted to make sure the pumpkins were well protected, so we added a
set of pumpkin caps from Higher Heights Off Road in Canada. They keep
the rocks away from the relatively thin metal of the pumpkin while
leaving a small drain slot in the lower portion to allow mud and water
to rinse out easily. These are a weld-on option, and well worth the
time and attention of a good installation.
Stay Tuned... In the next installment
we will look at adding axle gusseting, and a locker.
|
 |
Sources:
Pumpkin Caps
Higher Heights Off Road,
5450 Scotty Creek Road,
Kelowna, BC, V1X 6T9,
Canada
www.samuraioffroad.com
Lower Front Shock Mounts
Petroworks
Box 848
Fallbrook CA 92088
www.petroworks.com
1-800-952-8915 Orders
1-760-731-9434 Tech & Questions
SPOA Axle Perches
Rocky Road Outfitters
P.O. Box 681245
Park City, UT 84068
www.rocky-road.com
1-888-801-7271 Orders
1-435-783-2990 Tech
1-435-783-4355 Fax |