Klune-V
R.A.D. Valve Stems
|
|||
  The
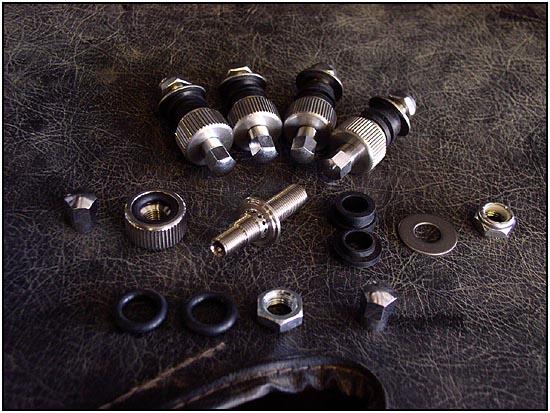
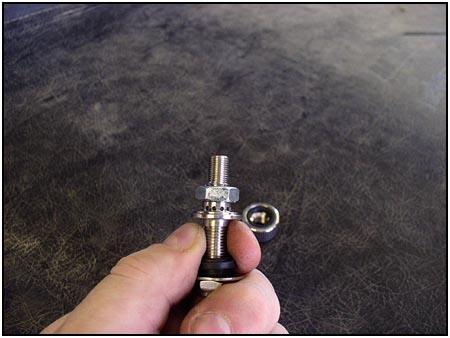
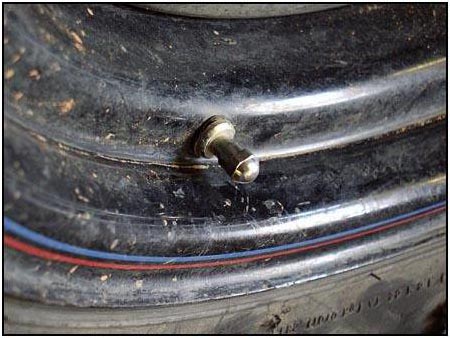
key to the R.A.D. system is the series of holes drilled at the base of the
stem. These bypass the schrader valve for more air flow. Tightening the
external knurled nut shuts down these passages using an O-ring incorporated
in the base of the nut. The
key to the R.A.D. system is the series of holes drilled at the base of the
stem. These bypass the schrader valve for more air flow. Tightening the
external knurled nut shuts down these passages using an O-ring incorporated
in the base of the nut. |
|||
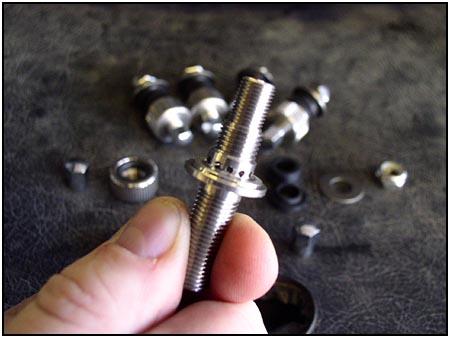
  By
including two different grommet sizes, you can use it on either of the two
standard valve stem hole sizes (29/64" and 5/8"). But not all wheels will
work with this system, as we found out. A modular rim with an angled stem
outlet like the one on the right would not work. The new stem must be
mounted perpendicular to the wheel surface. By
including two different grommet sizes, you can use it on either of the two
standard valve stem hole sizes (29/64" and 5/8"). But not all wheels will
work with this system, as we found out. A modular rim with an angled stem
outlet like the one on the right would not work. The new stem must be
mounted perpendicular to the wheel surface. |
|||
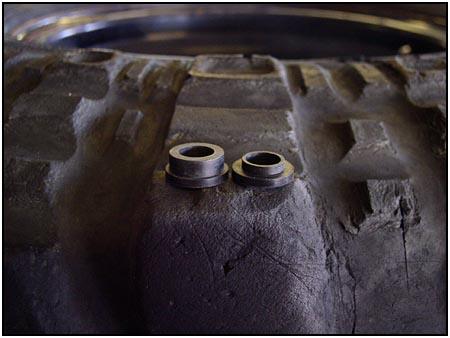
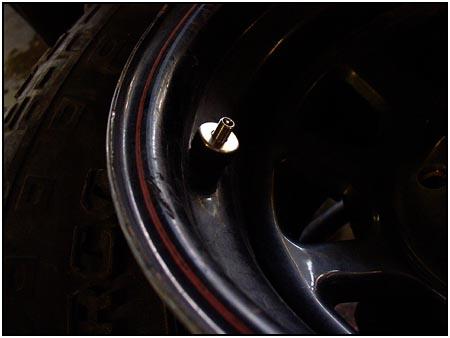
  The
rim on the left would not work either, there is too little clearance between
the stem and the wall of the rim. The R.A.D. stem requires a clear seating
area of 3/4". The wheel on the right is the style we used for this
installation. The
rim on the left would not work either, there is too little clearance between
the stem and the wall of the rim. The R.A.D. stem requires a clear seating
area of 3/4". The wheel on the right is the style we used for this
installation. |
|||
|
|
|||
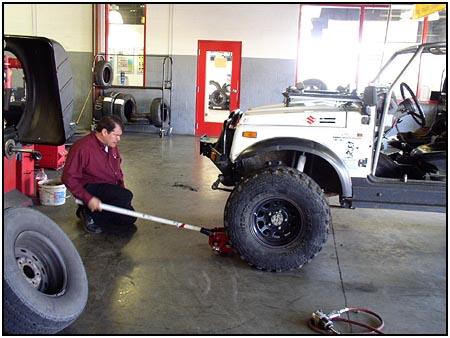
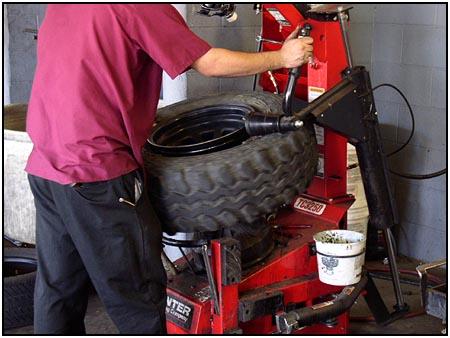
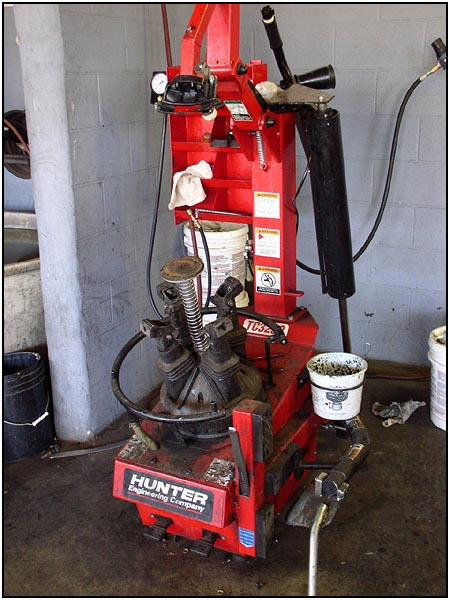
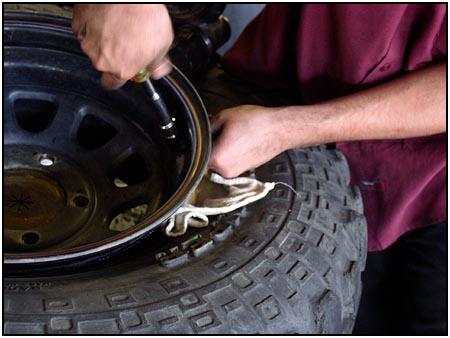
| The bead on the tire must be unseated to install a valve stem (they go in from behind) so we headed down to the local Martin Tire store. They were more than helpful and pretty curious about the new equipment. Why didn't we just pull out the tire spoons and do it in the garage? Because we didn't have cool equipment like this sitting around... | |||
|
|
|||
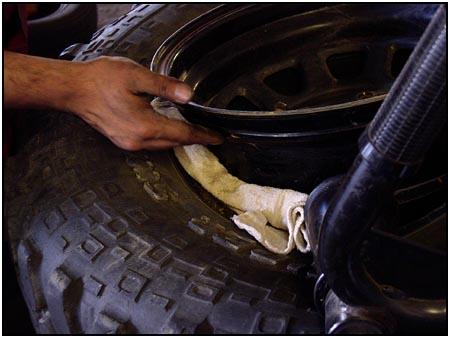
| When installing the stems, use a rag to catch any dropped parts. Trying to fish out parts inside of the tire is a pain in the rear. There is also a nut included in the kit to take the place of the knurled component when tightening the whole thing down. The instructions call it an 'installation tool', but it's basically a nut. | |||
|
|
|||
  Once
the stem is torqued down you remove the nut (installation tool). We found
that after it was torqued down, it didn't want to come loose. We used the
knurled knob as a jam nut underneath so we could hold everything in place to
loosed the installation nut up top. There is nothing about this in the
instructions, but a little common sense and some quick thinking gave us the
answer. Once
the stem is torqued down you remove the nut (installation tool). We found
that after it was torqued down, it didn't want to come loose. We used the
knurled knob as a jam nut underneath so we could hold everything in place to
loosed the installation nut up top. There is nothing about this in the
instructions, but a little common sense and some quick thinking gave us the
answer. |
|||
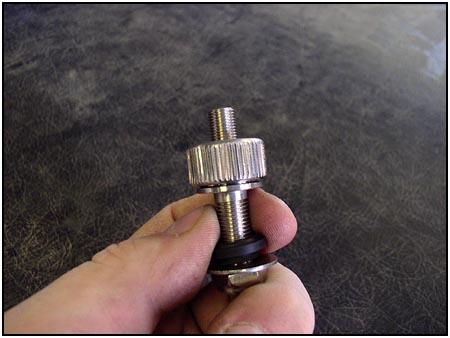
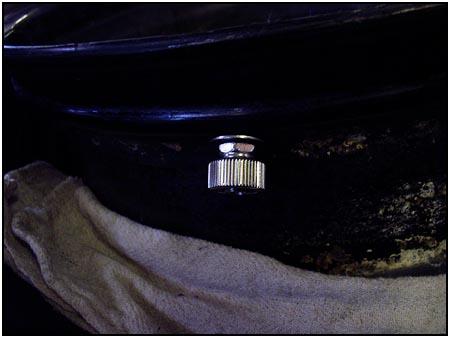
  Now
place the knurled knob. Don't forget the valve cap, because it works as a
lock nut to ensure the external nut doesn't back off while driving. Now
place the knurled knob. Don't forget the valve cap, because it works as a
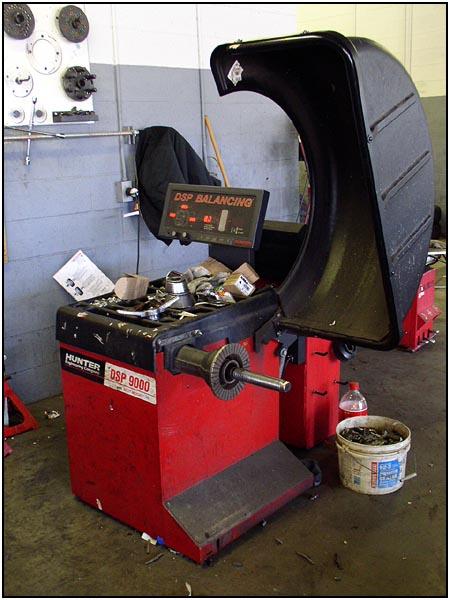
lock nut to ensure the external nut doesn't back off while driving.Finally, you have to balance the tire to keep the vibrations down. These valves weigh 1.75 ounces (a little heavier that most) so don't think you can get away without balancing. |
|||
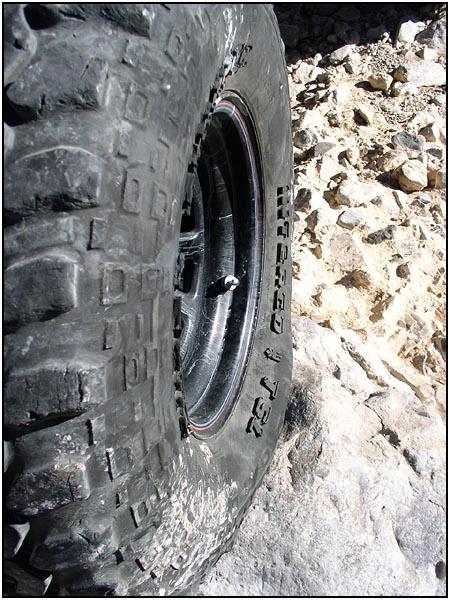 Although
these new R.A.D. Valve Stems are wider than normal, they are still very
short. They stay tucked in and out of the way of the rocks using the wheels
we are running. If you plan to install a set of these on a new set of
wheels, try to find a set of wheels that set the valve farther away from the
edge of the rim. Although
these new R.A.D. Valve Stems are wider than normal, they are still very
short. They stay tucked in and out of the way of the rocks using the wheels
we are running. If you plan to install a set of these on a new set of
wheels, try to find a set of wheels that set the valve farther away from the
edge of the rim.We are running a 33/12.50/15R TSL with this configuration. It only took 20 seconds to drop the air pressure from our street level of 28 psi down to 8 psi for the trail. This is a fastest way to air down, it's even faster than pulling the valve stem. |
|||
|
Manufacturer:
Klune V Supplier:
Spidertrax
|
With help from:
Martin Tire Company
|
||
07/08/10 21:59