|
  I
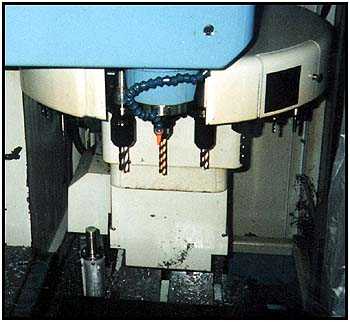
started with a 5' length of rectangular steel tube that provided the
'beef'. Although the holes for the lights could be cut using a large hole saw or a
handheld jigsaw, I chose
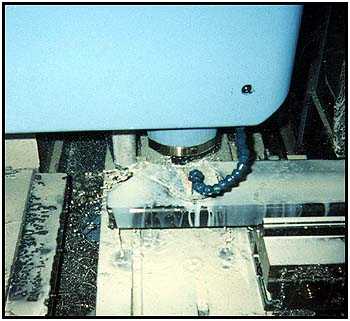
to throw the bumper onto the C&C machine. This allowed me to
trim the ends at the same time the holes were cut. I
started with a 5' length of rectangular steel tube that provided the
'beef'. Although the holes for the lights could be cut using a large hole saw or a
handheld jigsaw, I chose
to throw the bumper onto the C&C machine. This allowed me to
trim the ends at the same time the holes were cut.
 I know this isn't
something that everyone has in their garage... but it sure made it
easier to cut though the 3/16 steel! I know this isn't
something that everyone has in their garage... but it sure made it
easier to cut though the 3/16 steel!
*note* If you want to do something similar, but lack the access to
drilling or cutting tools necessary to cut these holes, you can pick
up a 'Bumper Blank' from Glenn at Rocky
Road Outfitters at a surprisingly low cost.
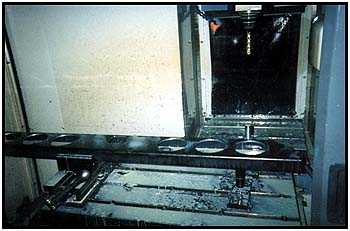
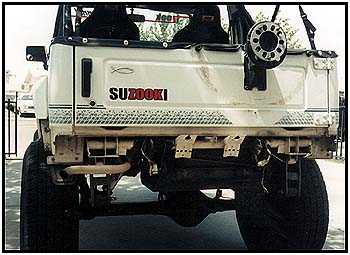
 I chose to use three lights on each side to make it easier to wire
with the stock harness. I also cut out the center hole for a 2"
receiver that I planned to flush mount for a clean look. I chose to use three lights on each side to make it easier to wire
with the stock harness. I also cut out the center hole for a 2"
receiver that I planned to flush mount for a clean look.
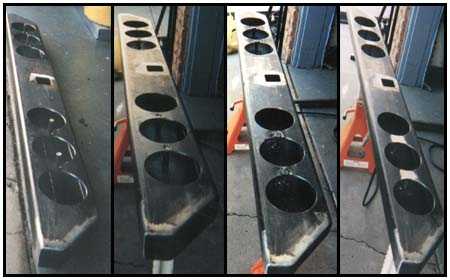
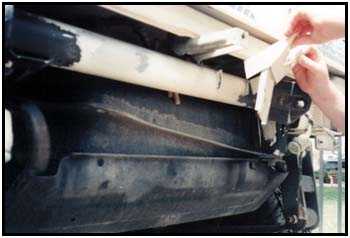
 The steel was
going to be beefy enough to take the abuse, but I was worried about
the small area between each light. If a rock were to hit the light I
could replace it on the trail if I needed to, but if that small
section of metal in between got hit there would not be be much support
behind it. The answer to this problem was welding in a 3/8"
support rod in between each light. Click on the four frame picture to
the right to see how that problem was solved. The steel was
going to be beefy enough to take the abuse, but I was worried about
the small area between each light. If a rock were to hit the light I
could replace it on the trail if I needed to, but if that small
section of metal in between got hit there would not be be much support
behind it. The answer to this problem was welding in a 3/8"
support rod in between each light. Click on the four frame picture to
the right to see how that problem was solved. |


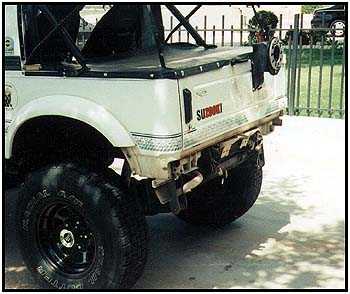
 We all know how the stock Samurai bumpers are little more than
glorified light brackets. If you take your zook off the beaten path -
you should think about making a change. There are many aftermarket
manufacturers that offer a strong alternative to the stock bumpers.
But if you are the 'Do-It-Yourself' type, there is another
alternative.
We all know how the stock Samurai bumpers are little more than
glorified light brackets. If you take your zook off the beaten path -
you should think about making a change. There are many aftermarket
manufacturers that offer a strong alternative to the stock bumpers.
But if you are the 'Do-It-Yourself' type, there is another
alternative.