|
Back
to page 1
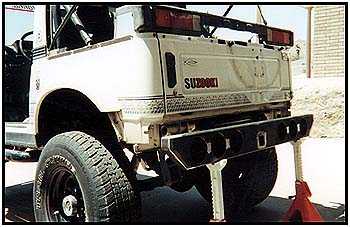
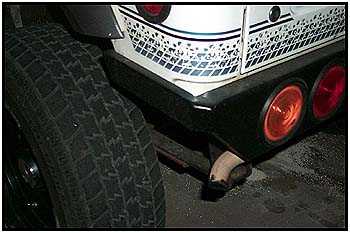
  After
finishing the bumper, it's time to attach it to the zook. I wanted to
keep it tucked in as close to the body as possible to leave as great
of a departure angle as possible. After
finishing the bumper, it's time to attach it to the zook. I wanted to
keep it tucked in as close to the body as possible to leave as great
of a departure angle as possible.
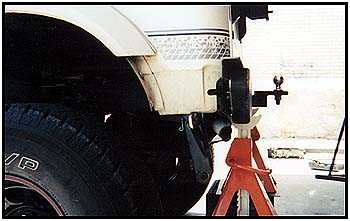
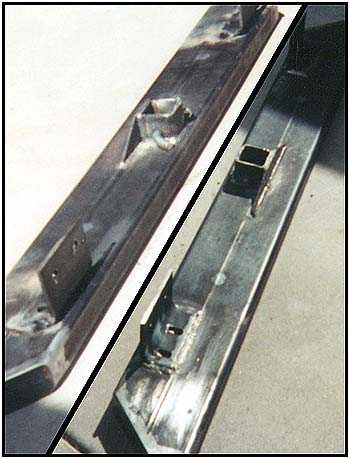
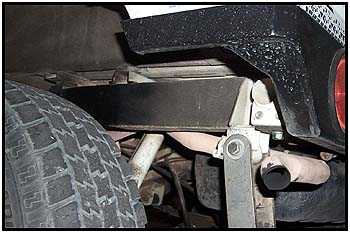
  Once it was in the correct position, the 3/8" angle iron was
drilled to match the stock mounting position of the stock tow bar
loop. These new brackets should be bolted securely to the frame
mounting points and then tack welded to the bumper while it is in
position. Then the whole thing could be removed from the zook and a
good, strong bead was welded to make sure it can stand a beating. In
the photo to the right you can see these brackets attached. You may
also notice the gusset that was used to strengthen the rear of the
2" receiver. Once it was in the correct position, the 3/8" angle iron was
drilled to match the stock mounting position of the stock tow bar
loop. These new brackets should be bolted securely to the frame
mounting points and then tack welded to the bumper while it is in
position. Then the whole thing could be removed from the zook and a
good, strong bead was welded to make sure it can stand a beating. In
the photo to the right you can see these brackets attached. You may
also notice the gusset that was used to strengthen the rear of the
2" receiver.
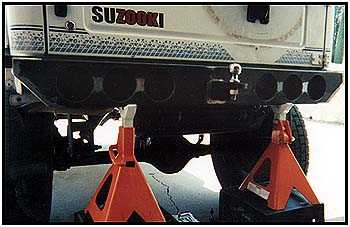
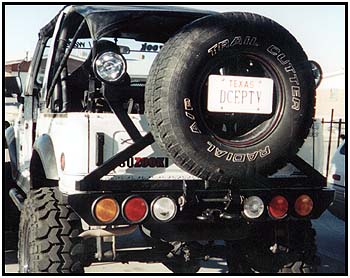
After the new component has been cleaned and painted, you can bolt
it back on and finish getting the position you want.
|