
| Back to Page 2 | ||
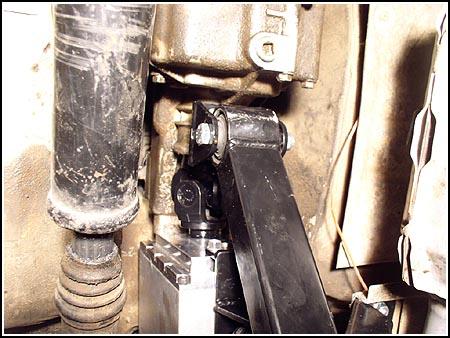
 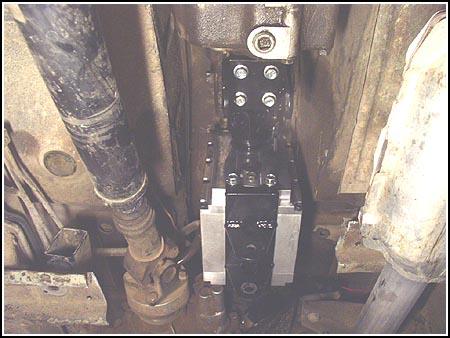 At
this point the Rock Block floats between the tranny and the transfer case.
You can see the mount under the Rock Block where it will mount to the new
crossmember. Next, we mounted the new transmission yoke to the place
where the old transmission mount had once been. At
this point the Rock Block floats between the tranny and the transfer case.
You can see the mount under the Rock Block where it will mount to the new
crossmember. Next, we mounted the new transmission yoke to the place
where the old transmission mount had once been. |
||
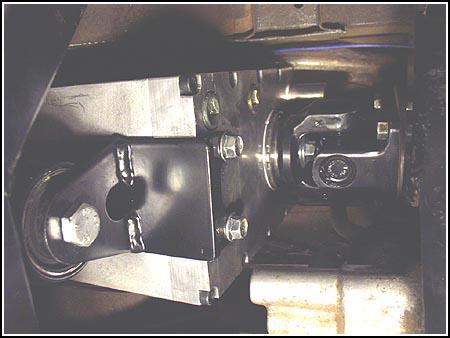
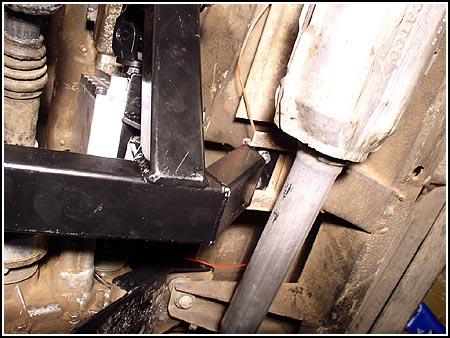
 Placing
the new crossmember in position, you can see how the rubber mounts slide
into the yokes on the bottom of the Rock Block and the transmission. The
main section slides right back into the original crossmember channel nice
and snug. Before bolting everything in, put the two large bolts through
the yokes to hold everything in place. Placing
the new crossmember in position, you can see how the rubber mounts slide
into the yokes on the bottom of the Rock Block and the transmission. The
main section slides right back into the original crossmember channel nice
and snug. Before bolting everything in, put the two large bolts through
the yokes to hold everything in place. |
||
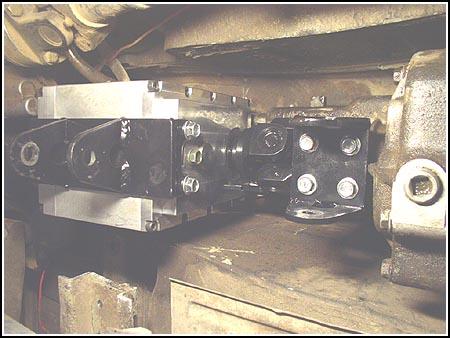
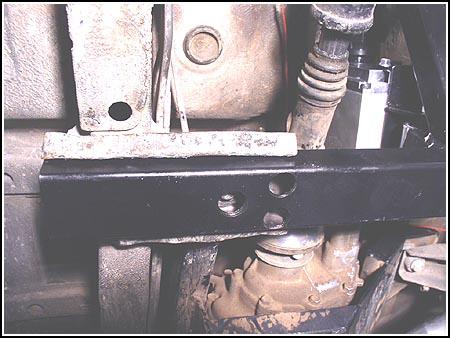
  On
the left you can see the transmission yoke/mount and the bolt that holds
it in place. On the right is the yoke/mount under the Rock Block.
Don't tighten these bolts until the next step. On
the left you can see the transmission yoke/mount and the bolt that holds
it in place. On the right is the yoke/mount under the Rock Block.
Don't tighten these bolts until the next step. |
||
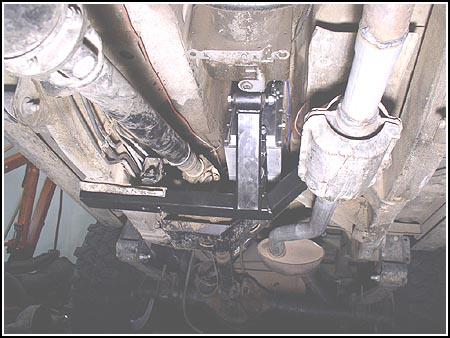
  Now
we install the bolts provided that secure the new crossmember to what is
left of the old. Also reinstall the front passenger side transfer case
mount. Then you can tighten up the yoke/mounts. Now
we install the bolts provided that secure the new crossmember to what is
left of the old. Also reinstall the front passenger side transfer case
mount. Then you can tighten up the yoke/mounts. |
||
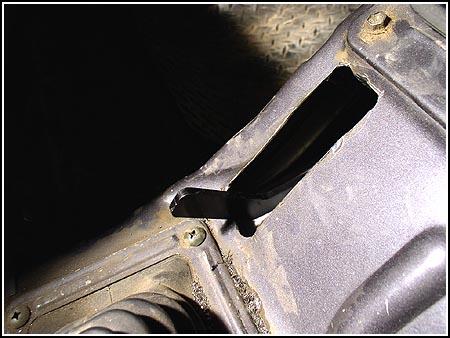 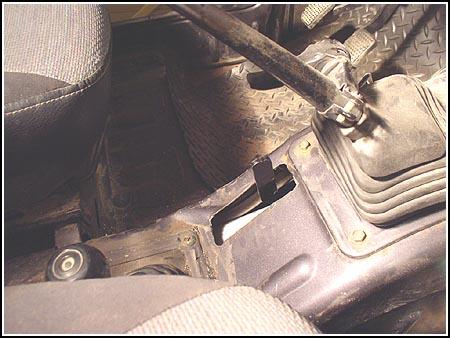 The
shifter handle should have come up through the hole that was made in the
floor. Having a helper up top helps when putting the box in place. You can
see that the shifter will use almost all of the distance provided with the
cut. The
shifter handle should have come up through the hole that was made in the
floor. Having a helper up top helps when putting the box in place. You can
see that the shifter will use almost all of the distance provided with the
cut. |
||
| *NOTE* The Rock Block was designed to be used in a vehicle without any aftermarket body lift. So any body lift you may have installed previous to this installation WILL affect the amount of travel the shifter will have. This installation was on a vehicle that had a 1" body lift installed. You can see in the pictures below where we had to extend the lower end of the cut to allow the shifter to fully engage low gear. Any taller of a body lift would have had undesirable repercussions. |
||
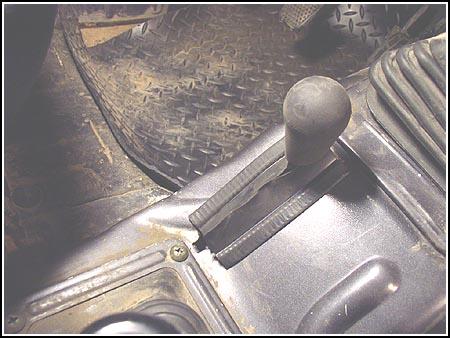
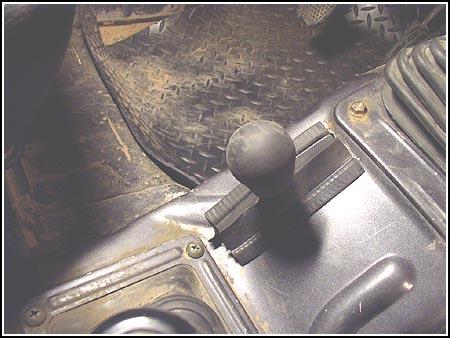
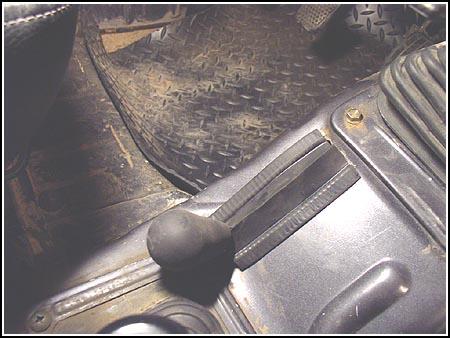
With the shifter forward, the gearing is not changed at all. It is a 1:1 pass through. When the shifter is in the middle, it is in neutral. When the shifter is all the way down, you multiply the vehicles current crawl ratio by 1.816 ... (drool). Excellent workmanship and attention to detail made this a very pleasant installation. I'm sure that the full appreciation will hit at about the time it is put into gear on the trail! Watch for a performance review coming soon. |
||
| Source:
Trail Tough Products |
08/22/2022