 |
      |
     |
|
|
|
|
|
|
|
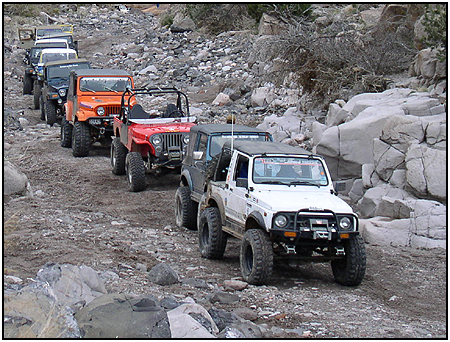
Armor God forgives... Rocks don't! |
|
|
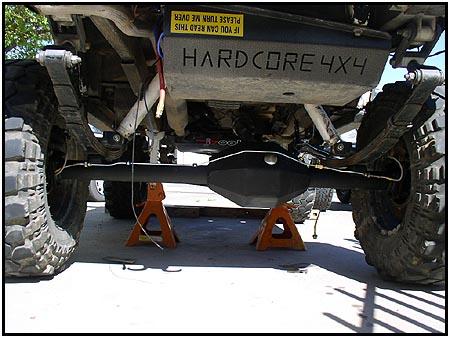
No matter what we do to our vehicles, the upgrades don't last if they are not protected. Here are a few things I did to keep the vital spots safe from the rocks that like to 'reach out and touch' you. Here are some of the upgrades I went through. Some of these components have been upgraded (replaced) yet again as time passed. Skid plates
The full width t-case skid plate covers from frame rail to frame rail. It is such a 'custom' fit that it takes a floor jack to 'pop' it into place. when you drop the jack, it stays in place waiting for you to put the retaining bolts into place. I have no reservations about dropping onto a rock and spinning the rig to point in the right direction when this is in place. As a matter of fact, I won't go wheeling without a skid plate of some kind. Here is the installation article I did for IZook.
|
|
|
Pumpkin Caps I put these on during a 'Do It Yourself'
buildup article I did for IZook.com |
|
|
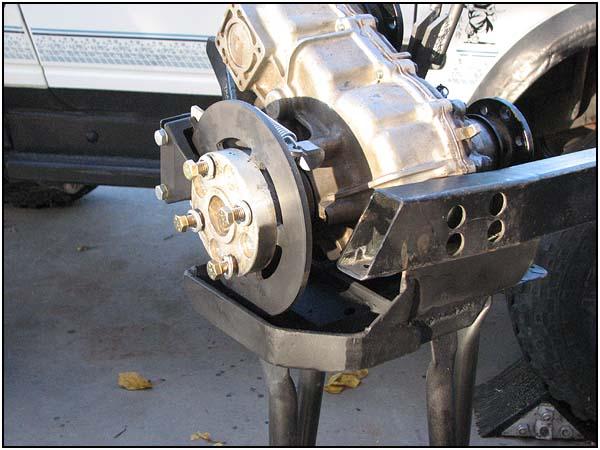
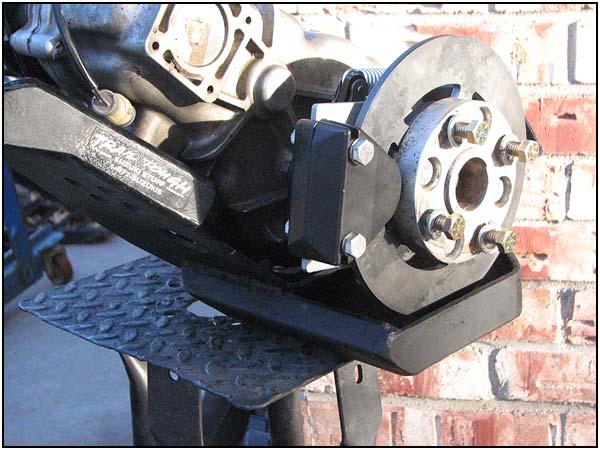
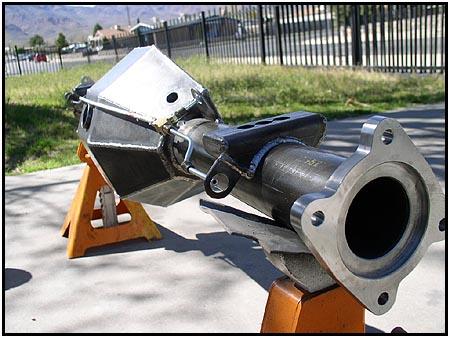
Front Axle Gusset
On the right you can see the newer brace and pumpkin hat design that was added when the first axle bent. This brace is beefier, using .25" wall rectangular tube. click on the top photo and you can see the thickness of the steel. It conforms to the axle tube very closely and leaves an opening for the u-bolt to pass through. It is also radiused where the tube meets the center housing. The welds aren't always exact on a sammy axle, so this jumps the problem without giving up very much in strength. The Pumpkin hat is also set at a 45 degree angle instead of straight on. |
|
|
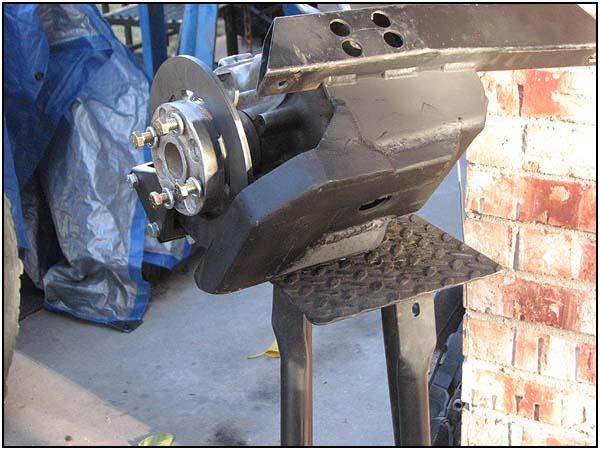
The
rear axle has been given the same treatment, but with a pair of braces
(one for each side of the diff). I have also incorporated the mounting
brackets for the traction bar. This allows the whole axle to support the
brackets and minimizes the stress that is transferred to the axle when the
traction bar is doing its job.
|
|
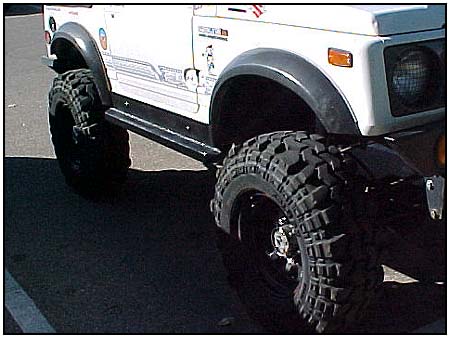
Rock Sliders
|
|
|
|
|
|
Cage
Any cage is there for one purpose, it is to try and keep you alive the next time you roll. Some last more than one roll, some barely last the first time. The last cage made it through two rolls before deforming enough to cause a problem fitting the doors back on. That is why the front got a new look from Rockrat at Rock4xfab. |
|
|
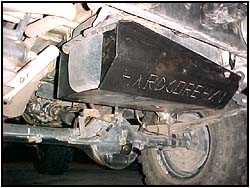
More Bumpers
|
|

 Now
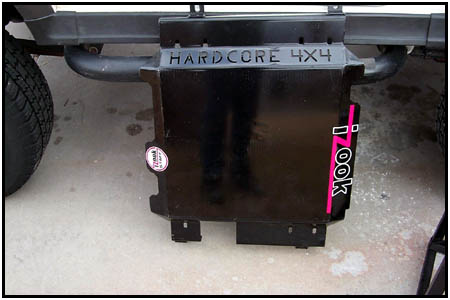
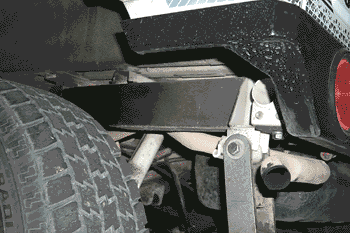
back to the Gas tank skid plate. The
gas tank skid plate is a direct (bolt-on) replacement for the stock unit.
But it won't bend or dent as easily as the stock unit. This makes it much
easier to drop off of a ledge with confidence that the tank isn't going to
cave in on some rock.
Now
back to the Gas tank skid plate. The
gas tank skid plate is a direct (bolt-on) replacement for the stock unit.
But it won't bend or dent as easily as the stock unit. This makes it much
easier to drop off of a ledge with confidence that the tank isn't going to
cave in on some rock.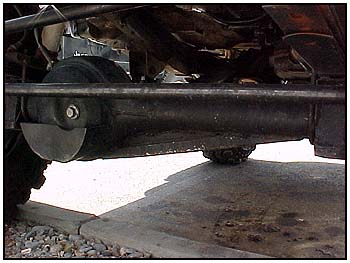


 The
current sport cage is a combination of a Trail Tough back half and a
Rock 4x Fabrication front half.
The
current sport cage is a combination of a Trail Tough back half and a
Rock 4x Fabrication front half.